One of the things I love about these very tasty Vegan Cheesy Rice Balls is that you can prepare them ahead of time and even the day before. So please note that the time given does not include chilling time, only prep and cooking time.
They are versatile and can be served warm, whilst the cheese is gooey inside.

This time, I chose to use a vegan Jalapeño cheese and gave them a real spicy kick, but you can use any cheese that melts well. I have, on many occasions, split the mixture in two and added a different cheese to each half. The vegan Jalapeño cheese is also quite orange in colour, which adds to the colour of the rice balls. So please note that a different cheese will most likely give a paler colour.
You can also leave them to cool and serve as ‘finger-food’ with a tasty dip!

Main ingredients and the minerals and vitamins, protein and fibre they contain per 100 g / 3½ oz!
(Please note all information is approximate)
Benefits of eating Leeks
– per 100g = Iron, Maganese, Vitamins A, C, K / 1.5 g Protein / 1.8 g Fibre
Benefits of eating Risotto Rice
– per 100g = Manganese, Phosphorus, Copper, Zinc, Magnesium and B3 (Niacin) / 7.8 g Protein / 2.4 g Fibre
Did You Know?
Ancients Greeks and Romans believed leeks to be great for your throat and gave you a clear voice!
Legend has it that Welsh soldiers, as early as 640 AD, wore leeks in their hats so they could tell them apart from their enemy, who were the Saxons!
The word ‘Leek’ is derived from the word ‘Leac’, which is an old Anglo-Saxon word!
If you have any interesting facts about Leeks and their legendary uses, please drop me a comment in the comments box below. I love learning new things!
How to make these tasty vegan cheesy rice balls
Please note that it is important to make sure that you can dedicate a full 25 minutes to stirring the risotto rice once you add it to the pan, as it will need to be stirred continuously.
Start by prepping the leeks. They need to be finely sliced and diced so you don’t get stringy bits when you bite into them. But it’s quick and easy to do this.
Just thinly slice them, then slice each slice in half lengthways, turn and slice them several times to make the fine dice.
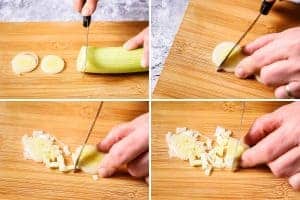
Once you have got all your other ingredients ready, melt the vegan butter in a large pan and gently fry the leeks over a medium to low heat for 4-5 minutes, until soft. Stir occasionally so they do not burn but don’t worry if they gain a little colour.
Whilst the leek is softening, add the stock powder to the freshly boiled water and stir to mix in and dissolve.
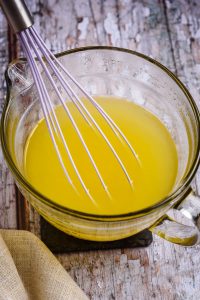
Next, add the rice to the pan and cook over a low heat, for about 3-4 minutes before adding any stock, stirring constantly so the rice does not burn. This will enable the rice to become translucent – it will lose its white colour and look glossy. The reason for this is mainly to add a nutty flavour to your dish, as it ‘toasts’ the rice bringing the flavour out. But it also helps to retain the shape of the rice so it doesn’t become a big messy blob!
Now you can start adding the stock liquid at about 60 ml / 4 tablespoons at a time. Stir over a medium to low heat, you just want it to simmer gently. I usually find that I have to increase the heat when I add the liquid and then reduce it again whilst the rice is absorbing it. When the rice has absorbed the added liquid, you can add some more. It should take at least 20 minutes to add all the stock liquid and achieve evenly cooked rice.
If you cook it too quickly, the liquid will evaporate and you will not have enough liquid to ensure the rice cooks through properly. You are looking for the rice to be soft with just a little bit of texture to it. When tasting, you will know what feels right to your tastes.
When you have added all the liquid you should be able to draw a spoon/spatula through the middle without any liquid running back from it. And the rice will have a soft and gloopy texture and look to it.
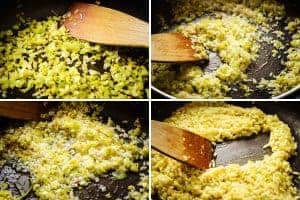
Once your rice is cooked, you can remove it from the heat and place in a bowl with the grated cheese and mix together. Season with freshly ground black pepper to taste, and leave to cool. Once cool enough to put in the fridge, chill for at least two hours.

This is a really great dish to make ahead and the prepared mixture can sit in the fridge for a day before you add the finishing touches. Technically, this dish is now cooked so will last for a couple of days before being eaten.
However, by rolling them into balls and coating them with polenta and gently frying, they taste even better. Polenta adds lovely crispiness to the outside.
Making them into balls
A good way to ensure you have even quantities is to weigh the mixture and then divide it into 12 piles of equal weight. Take each pile and, between the palms of your hands, roll it into a ball. Place the polenta on a plate and gently roll each ball into the polenta to evenly coat.

You will end up with 12 evenly coated cheesy rice balls, ready for frying.
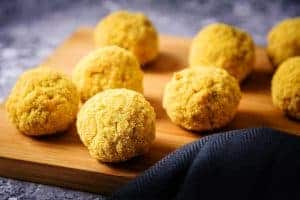
Heat some oil in a non-stick pan and fry the balls, over a medium to high heat, turning occasionally, for 8-10 minutes per batch if you can’t fit them all in at once.
Update – Feedback from one of my followers in the comments below, says that they can also be done in an air fryer if you have one. I haven’t got one so cannot try it. But this is great for those of you that do have one. If you try using an air fryer too, please leave a comment below. ????????
These are lovely and gooey inside when served warm and you will need a knife and fork to eat them. Whilst warm, they will be quite soft to the touch because the cheese will have melted during frying.

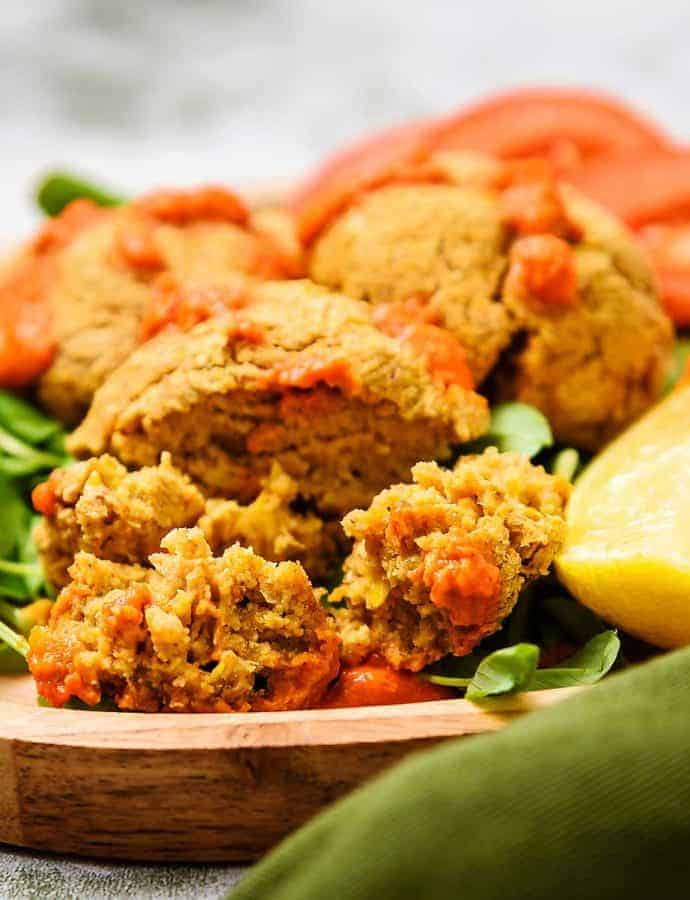
However, if you leave them to cool and let the cheese set again, they are easily handled with your fingers to dunk in a dip or sauce such as my deliciously Tangy Roasted Red-Pepper Sauce!
I absolutely love these cheesy rice balls and would love to hear your thoughts when you make them, so please leave me a comment in the comments box below. It will be great to hear from you ????
Happy rice ball making and ENJOY!
Vegan Cheesy Rice Balls
- 15/01/2021
- Makes 12
- 50 min
- 97 Cals/Serving
- Print this
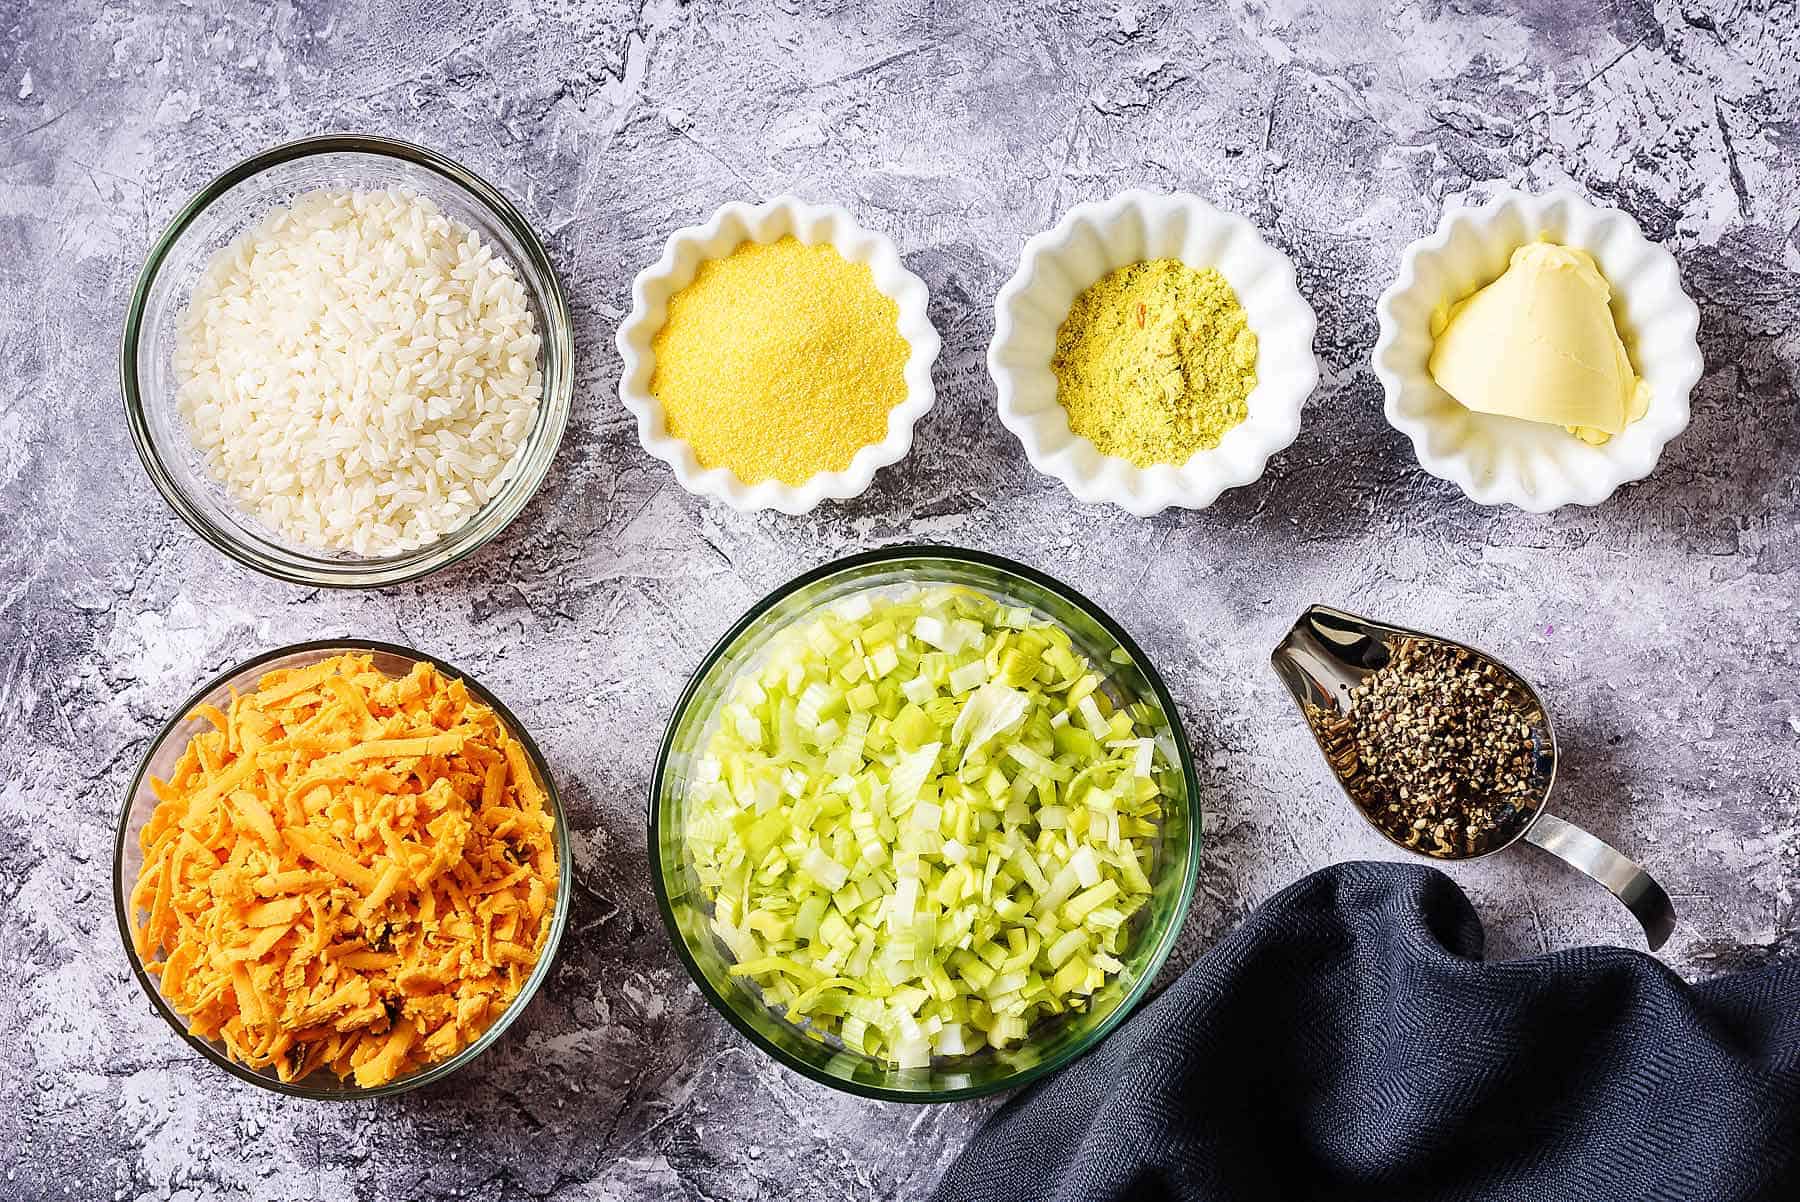
Ingredients
- 25 g / 1 oz vegan butter
- 100 g / 3 ½ oz leek, sliced and diced (see photo above)
- 15 ml / 1 tablespoon gluten free stock powder
- 500 ml / 17 fl oz freshly boiled water
- 110 g / 4 oz risotto rice
- 100 g / 3 ½ vegan cheese, grated, that melts well
- Freshly ground black pepper
- 60 ml / 4 tablespoons polenta grain
- Oil for frying (not included in calories)
- Fresh parsley, chopped, for serving (optional)
Directions
- Step 1
- Melt the butter in a large sauce pan and add the leeks. Gently fry over a medium to low heat for 4-5 minutes until softened.
- Step 2
- Meanwhile, add the stock powder to the freshly boiled water and stir to dissolve.
- Step 3
- Add the rice to the sauce pan, and cook for 3-4 minutes, stirring continuously. Then add about 60 ml / 4 tablespoons of the stock to the pan. Stir to ensure the rice does not stick to the bottom of the pan and simmer until the stock has been absorbed by the rice.
- Step 4
- Continue to add the stock in the same amounts, stirring over a simmer, until all of the stock liquid has been used and the rice is cooked through. This will take approximately 20 minutes and you should be able to move the rice in the pan (see photo above) without any liquid running back from it. But be sure not to let the rice over cook and stick to the pan.
- Step 5
- When the rice is cooked, transfer to a bowl and mix in the grated cheese and season with freshly ground black pepper to taste. Leave to cool and then refrigerate for at least 2 hours, or overnight if preparing ahead.
- Step 6
- When the rice and cheese mixture is thoroughly chilled, weigh the mixture and divide into 12 equal piles. Then form each pile of mixture into balls by rolling between the palms of your hands.
- Step 7
- Place the polenta on a plate and roll each ball in the polenta to completely coat it.
- Step 8
- Heat the oil in a non-stick pan and fry the balls, over a medium to high heat, turning every couple of minutes to ensure even cooking. This will take about 8-10 minutes per batch of balls if you haven’t got a pan big enough to cook all at once.
- Step 9
- Serve warm with a crisp salad or leave to cool and serve as a snack with a dip.



Yesterday I made the cheesy rice balls following this recipe the only difference in ingredients was the cheese as I used dairy. The recipe was easy to follow, I started to fry the rice balls in the frying pan but then because I personally don’t like standing over the frying pan decided to cook the rest in an air fryer, which also worked very well. They turned out really good and very tasty, well worth the effort. (I have some pictures but couldn’t post them).
Hi Sarah
So glad you liked them. And thanks for the info about the air fryer. I haven’t got one so have never tried it that way. I will make a comment in the text to say they work in an air fryer too!
Jill 😊