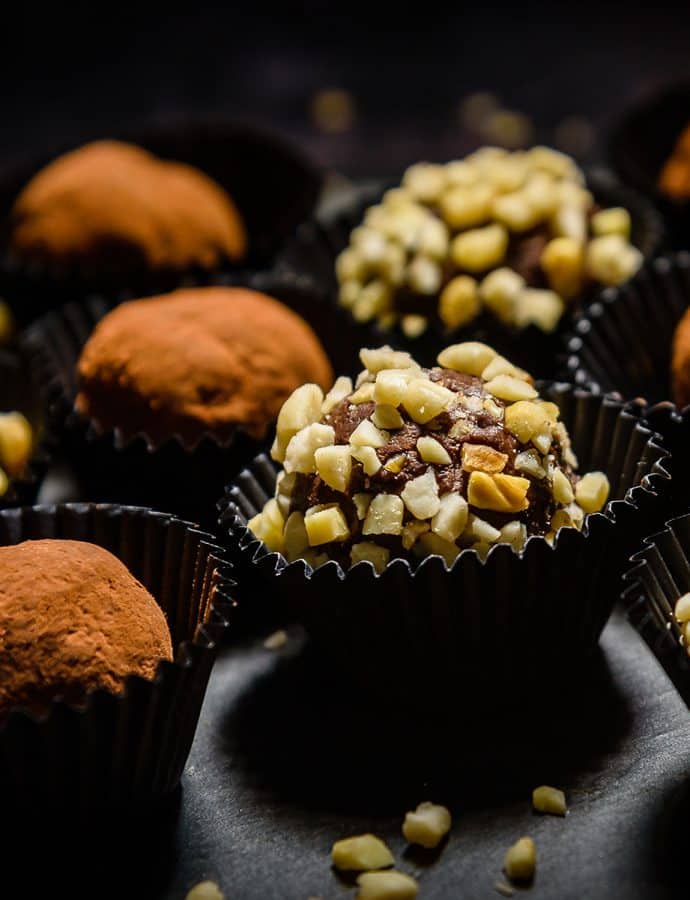
These Vegan Date & Nut Chocolates are incredibly easy to make, look great and taste fantastically smooth but have some crunch too!

Adding cereal to chocolate is nothing new. Rice Crispies and Corn Flakes have been used for years. But I like to add whole grain shreddies to make me feel a bit healthier than I would without them! ????
Just 3 stages to make these gorgeous Vegan Date & Nut Chocolates!
Equipment you will need
Stage 1 – takes about 20 minutes
Start by crushing the shreddies. I just use the end of my wooden rolling pin. I like to use a tall jug so the pieces don’t fly everywhere.

In all seriousness, they actually add a really nice texture with the dates and nuts.

Please take care when buying Shreddies/Malted Wheaties though, because not all makes are vegan friendly.
It’s mainly because they are fortified with Vitamin D, which can be animal-derived. And the sugar in the ingredients may not be vegan either.
Therefore, always check the packet to see if they are Vegan Society endorsed or the company has printed ‘suitable for vegans’ on the packet.
From reading some of the comments in the vegan groups I follow, I know that ‘new’ vegans can have concerns about getting enough Iron in their diet when they first give up meat.
So along with the Iron found in dark chocolate (check out the benefits of dark chocolate), these Vegan Date & Nut Chocolates should be just what the doctor ordered!
Once the shreddies are crushed you will need to melt 60g of the chocolate.

I like to do this in the microwave but you should only do for 30 seconds at a time, and reduce to 15 seconds as necessary. You should stop microwaving when there are still some lumps left. You can melt these by stirring into the already melted chocolate.
Then add the remaining ingredients, remembering to hold back 70g of unmelted chocolate for stage 3.

Now quickly mix them all together to ensure they are equally combined.

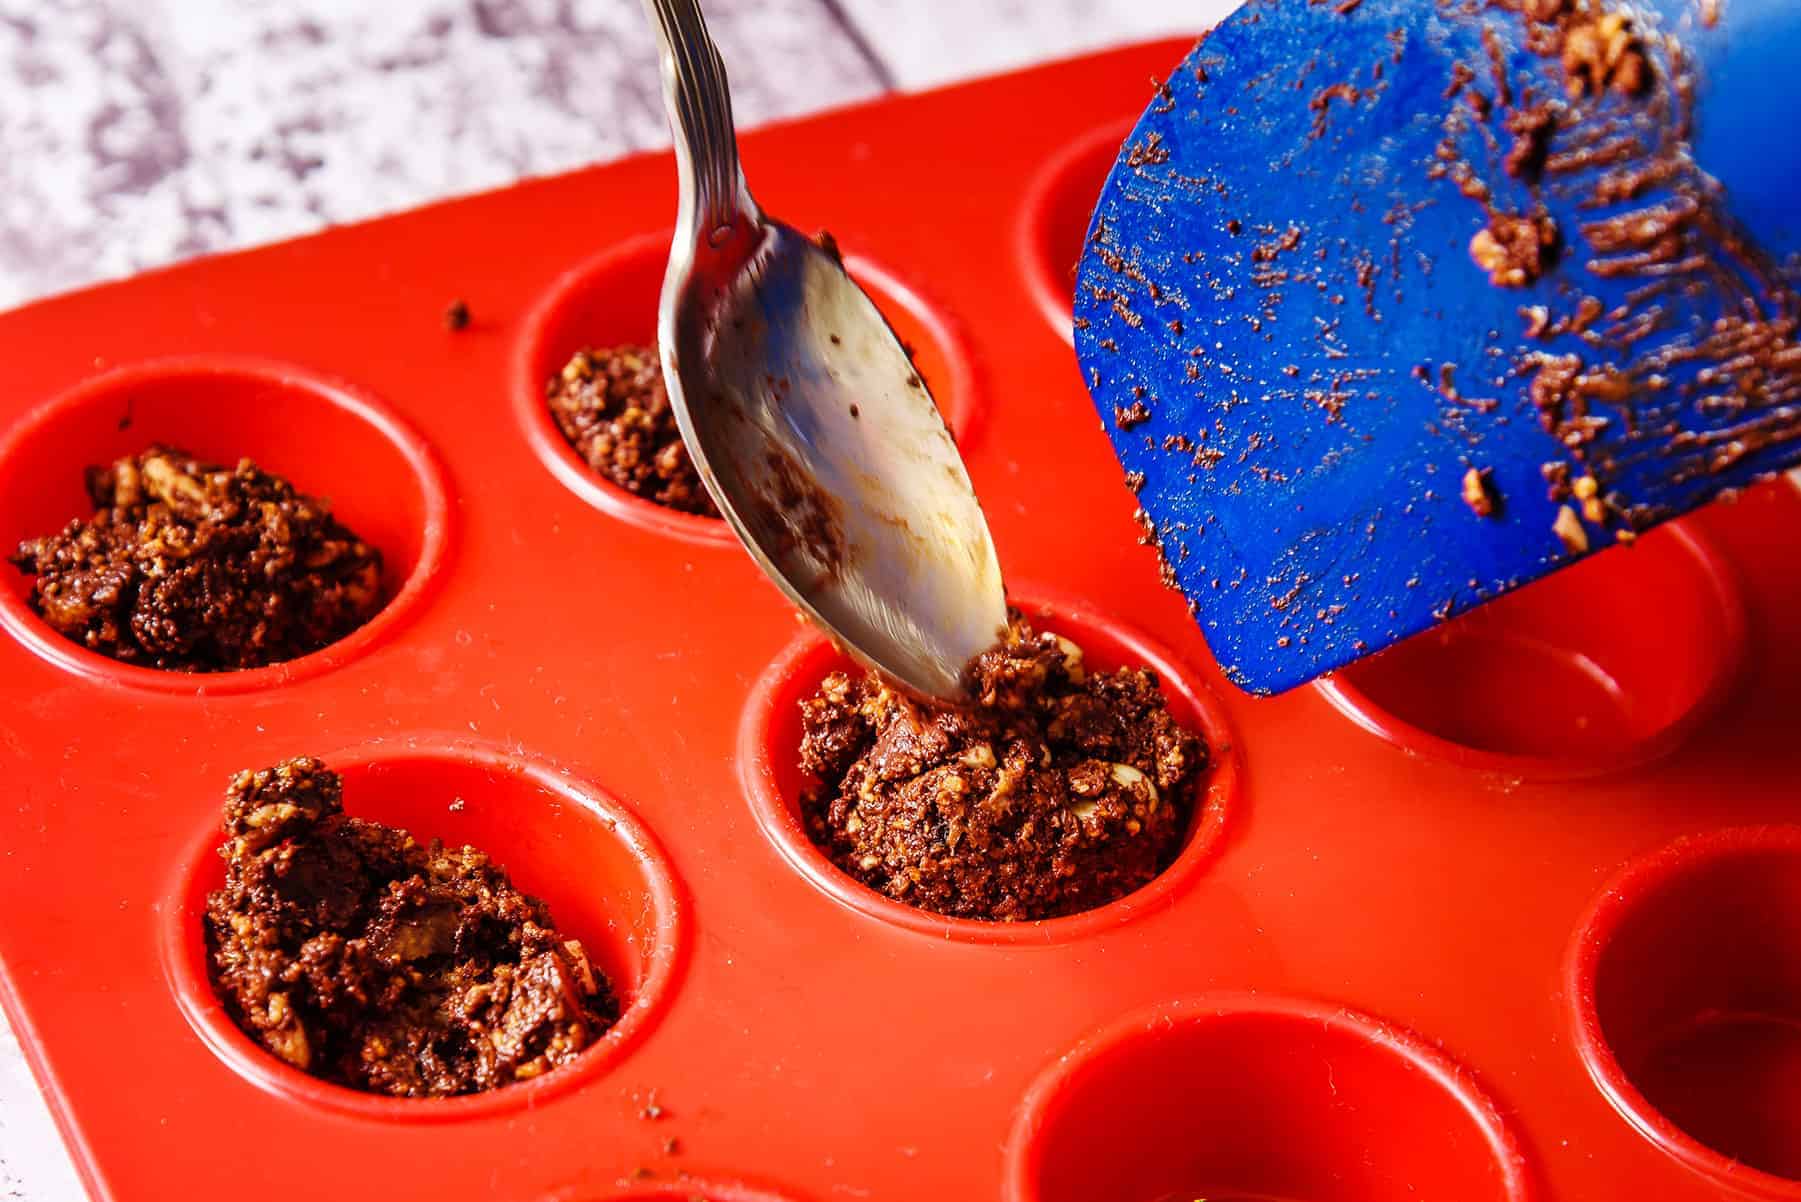
Divide the mixture into 12 using a pre-formed silicone mould.

Then smooth the tops with the back of a spoon so your chocolates will lay flat when turned out.

If you don’t have a mould, you can still achieve a lovely confectionery look by making a ‘slab’ with the mixture, on parchment paper. When it is set, you can cut into shapes and coat with chocolate as in stage 3.
Stage 2 – time to chill!
Unfortunately, I am unable to include chilling time in my recipe format below. Therefore, the time given does not include the time needed for stage 2!
Place the filled mould, or ‘slab’ in the fridge and chill for at least two hours.
Stage 3 – the messy, but fun bit of making these Vegan Date & Nut Chocolates!
Turn the set chocolates out of the mould, onto a plate. At this stage, it is better to keep them in the fridge for as long as possible. Therefore, only get out a few at a time when you are ready to coat them.
The reasoning behind this is that you will be putting them into hot chocolate which means they have the potential to melt again if they are not really cold.
So get prepared by turning them out of the mould or, if you made a ‘slab’, cut to the required shapes and place back in the fridge until you have melted the chocolate.

Normally I would melt the chocolate in the microwave, as explained above. But because you are placing very cold chocolate into hot chocolate, it will start to solidify quickly if not kept warm enough to stay at the melting point.
Therefore, the best way to melt chocolate for this stage is to use the hob method of putting a heat-proof bowl, preferably a glass bowl, over hot water in a saucepan.
This allows you to control the heat to keep the chocolate at a melting point in between each chocolate that you are coating.
Once ready, pop one chocolate at a time into the melted chocolate.

Use a spatular to gently turn it to ensure it is coated on all sides.

Here’s the slippery bit – carefully, without it sliding off your spatular, lift the coated chocolate out of the bowl and place it on a wire rack to set. I use a skewer to gently push the coated chocolate off the spatular.
Remember to place something underneath as the excess chocolate will drip through. As my husband is my excellent photographer, I let him scrap it off afterward! ???????? (He’s got to have some perks!)

I am not the best at decorating chocolates so I just like to grate some more chocolate over the tops when serving to guests. But please leave me a comment below telling me how you decorate yours.

If you love these, why not try my Gluten Free Vegan Date & Chocolate Cake Bites – fabulous with a cup of fresh coffee! ☕
For a gluten free version of these chocolates, you could use Doves Farm Gluten Free Organic Fibre Flakes and break them down in a food processor to give the same texture in the chocolates.
I love that nobody has to miss out on goodies, no matter what their dietary choices, or needs, are.
Happy chocolate making, ENJOY, and please don’t forget to leave a comment below. ????????
Vegan Date & Nut Chocolates
- 06/10/2020
- Makes 12 chocolates
- 40 min
- 96 Cals/Serving
- Print this

Ingredients
- 130g vegan dark chocolate
- 60g pitted dates, finely chopped
- 40g whole grain shreddies/malt wheaties
- 20g chopped mixed nuts
- 40g soya cream
Directions
- Step 1
- Place the shreddies in a tall jug and crush using the end of a wooden rolling pin.
- Step 2
- Next, melt 60g of the vegan chocolate by breaking it into pieces and placing it in a microwave-proof bowl. Microwave, on full power for 30 seconds at a time, reducing to 15 seconds, until there are just a few small lumps left. Stir these to melt fully.
- Step 3
- Add the dates, crushed shreddies, chopped mixed nuts, and cream to the melted chocolate and mix well.
- Step 4
- Divide the mixture into a 12 hole silicone mini muffin tray and push down to form a smooth finish on the tops.
- Step 5
- Place in the fridge for at least 2 hours to set.
- Step 6
- When fully set, turn the chocolates out of the mould.
- Step 7
- Melt half of the remaining chocolate, 20-30g at a time, in a bowl over a saucepan of hot water, on the hob, and dip each chocolate, in turn, into the melted chocolate to fully coat. Place on a wire rack to set. Repeat until all chocolates have been coated.
- Step 8
- When set enough to handle, transfer to a plate, and chill in the fridge until needed.
- Step 9
- To serve, decorate with grated chocolate (optional).


