I was recently asked by someone what I knew about Spelt Flour and it’s uses. Although I had to confess I had never used it before, I offered to try it in a recipe I had previously written for regular bread flour. And that’s how this recipe for Sundried Tomato Spelt Bread came about.
Spelt is an ancient grain and is very similar to regular flour, but the original query I had has made me eager to learn more and try out some other recipes too!
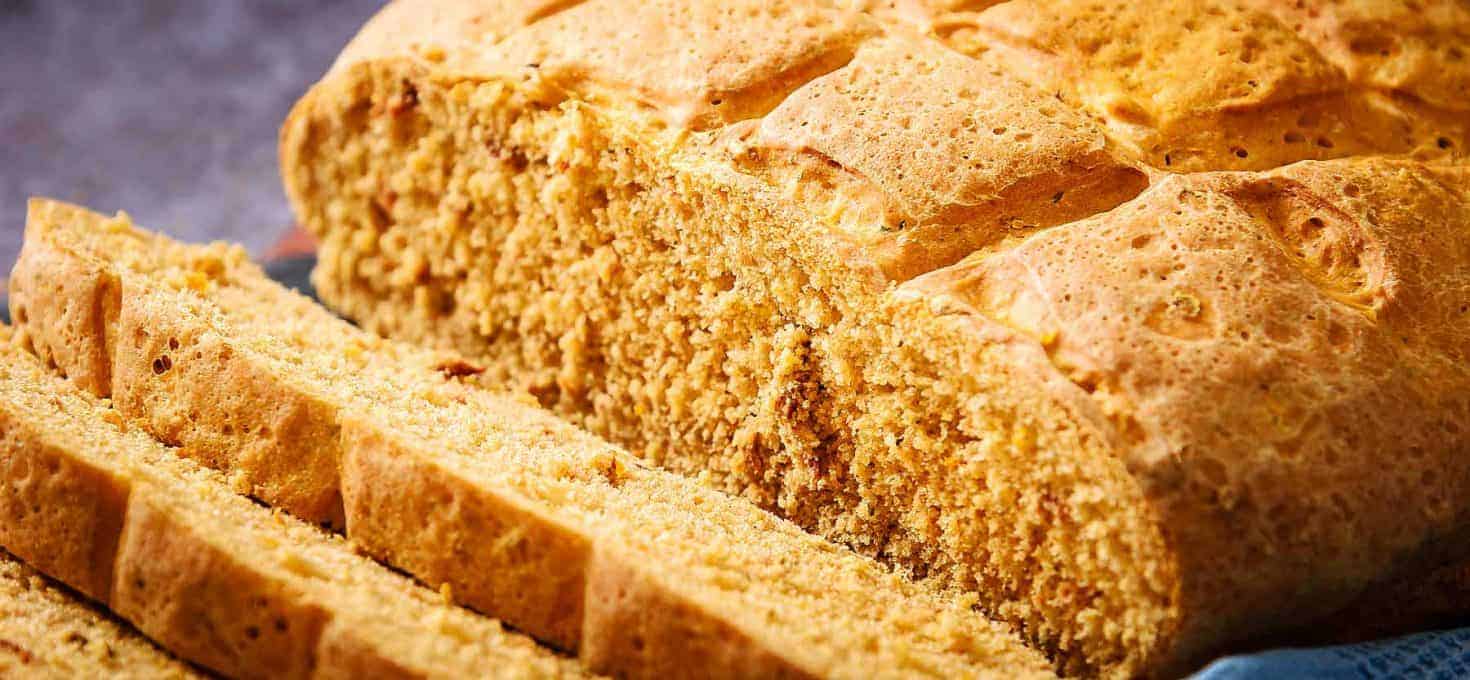
It certainly makes a very soft loaf of bread and was easy to work with.
Making this Sundried Tomato Spelt Bread
This is another easy bread recipe but this time I have lessened the proving time. I tried this out when I used regular bread flour for this recipe and it worked really well. Therefore, I thought I would back up my tests and use the same method for this bread.
Once you have weighed out all the ingredients, start by activating the yeast by dissolving the sugar in 150 ml / 7½ fl oz of the warm water and adding the yeast. Give it a light whisk with a fork and leave in a warm place. This should take about 5 minutes and will form a layer of small bubbles on the surface.
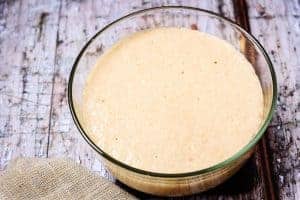
Whilst the yeast is activating, place all the other ingredients, except the remaining warm water, into a large bowl and make a well in the middle.
When the yeast is ready, give it another light whisk and add to the other ingredients along with the remaining warm water.
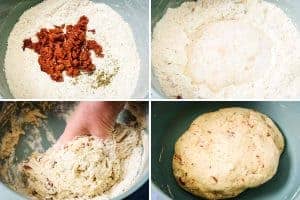
Then, using your hand, bring the ingredients together to form a soft dough. Do not be tempted to add more water as spelt flour has a lower water absorption capacity and will be too sticky. It may seem at first that it is too dry but, trust me, the dough will take all the flour and be light and soft to the touch.
As you will see in the photo above, you can literally clean the bowl with the dough!
Kneading and Proving (rising) the Dough
When you have formed a soft dough, turn the dough onto a lightly floured surface. I like to use a silicone sheet which is very non-stick and does not need to be floured. But if you haven’t got one, a light dusting of flour on a hard surface works just as well.
Spelt flour can cause some confusion as it is a ‘speciality flour’ and people, even myself for a long time, can think of speciality flours as being gluten free. But make no mistake, spelt is not gluten free!
However, it does have a weaker gluten content, thus making it easier to break down the gluten during the kneading process. Therefore, this dough only needs to be kneaded for 5 minutes.
If you have never made bread by hand before, be sure to set a timer when kneading as, if you over knead spelt flour, it can give the bread a crumbly texture, which is quite annoying when slicing it for sandwiches!
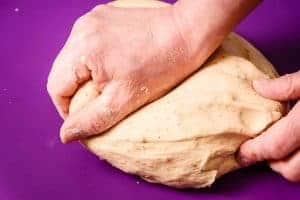
As you knead the dough with the base of your hand, you will feel the dough become softer and more pliable. You should be able to gently pull and stretch the dough without it tearing.
The dough is now ready to prove. I like to save on washing up so I will often use the same bowl, that I have cleaned whilst bringing the dough together. So give the bowl a good coating of oil and place the dough back in the bowl. Cover with an oiled piece of cling-film and leave in a warm place to prove/rise for 20 minutes.
I am not a lover of cling-film because of it’s impact on the environment, but I find I do have to use it for the purpose of making bread. However, I actually save the oiled cling-film and use it several times before I can bear throwing it in the rubbish.
The reason for using cling-film rather than a tea-towel like in days of old before cling-film is because you can give it a coat of oil. The oil stops the dough forming a dried crust during the proving/rising process. I also find that it gives a coating to the dough in the final prove/rise that works well during the cooking process.
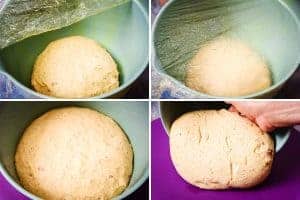
After 20 minutes, turn the proven/risen dough out of the bowl and gently knead again.
It’s now ready to shape and ‘slash’. So make the dough into a circle, place on a lined or lightly greased oven tray, and ‘slash’ the top with a sharp knife to form a diamond pattern.
Then, using the same piece of oiled cling-film, loosely cover the dough and leave for a further 20 minutes. Again, in a warm place.
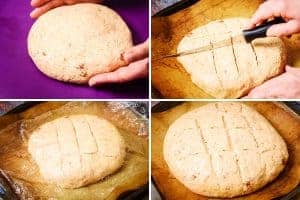
When the dough has been proving/rising for 5 or so minutes, preheat your oven as per recipe directions. This is important because the oven needs to be at the correct temperature when the dough has been proving/rising for 20 minutes.
Then uncover the dough and place in the middle of the preheated oven and bake for 25-30 minutes.
To test if the bread is cooked, carefully turn the bread upside down and tap the bottom with your knuckles. If it sounds hollow, the bread is cooked.
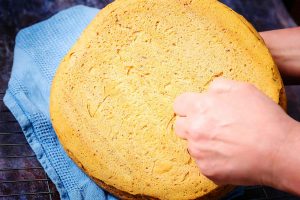
If it doesn’t sound hollow, pop back in the oven and continue to bake for another 5 or so minutes. Then leave to cool on a wire rack.
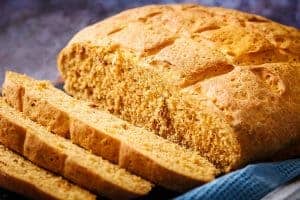
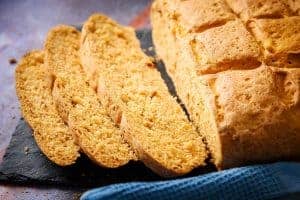
What you will end up with is a gorgeous loaf of bread that is soft and light and tastes amazing!
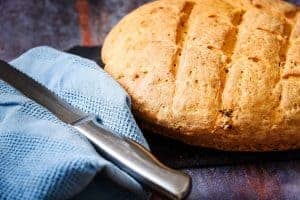
Very tasty on its own but extremely delicious when sliced and smothered in vegan butter!
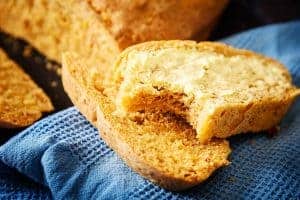
This bread is best eaten on day of baking but will stay fresh for 1-2 days. After this, you can use it to make delicious toast and spread with hummus or guacamole!
Do you use spelt flour? I would love to hear if you tried this recipe, so please leave me a comment in the box below ????
Happy Spelt Bread making and ENJOY!
Sundried Tomato Spelt Bread
- 09/01/2021
- Makes 1 Loaf
- 1 hr 30 min
- 1981 per loaf Cals/Serving
- Print this
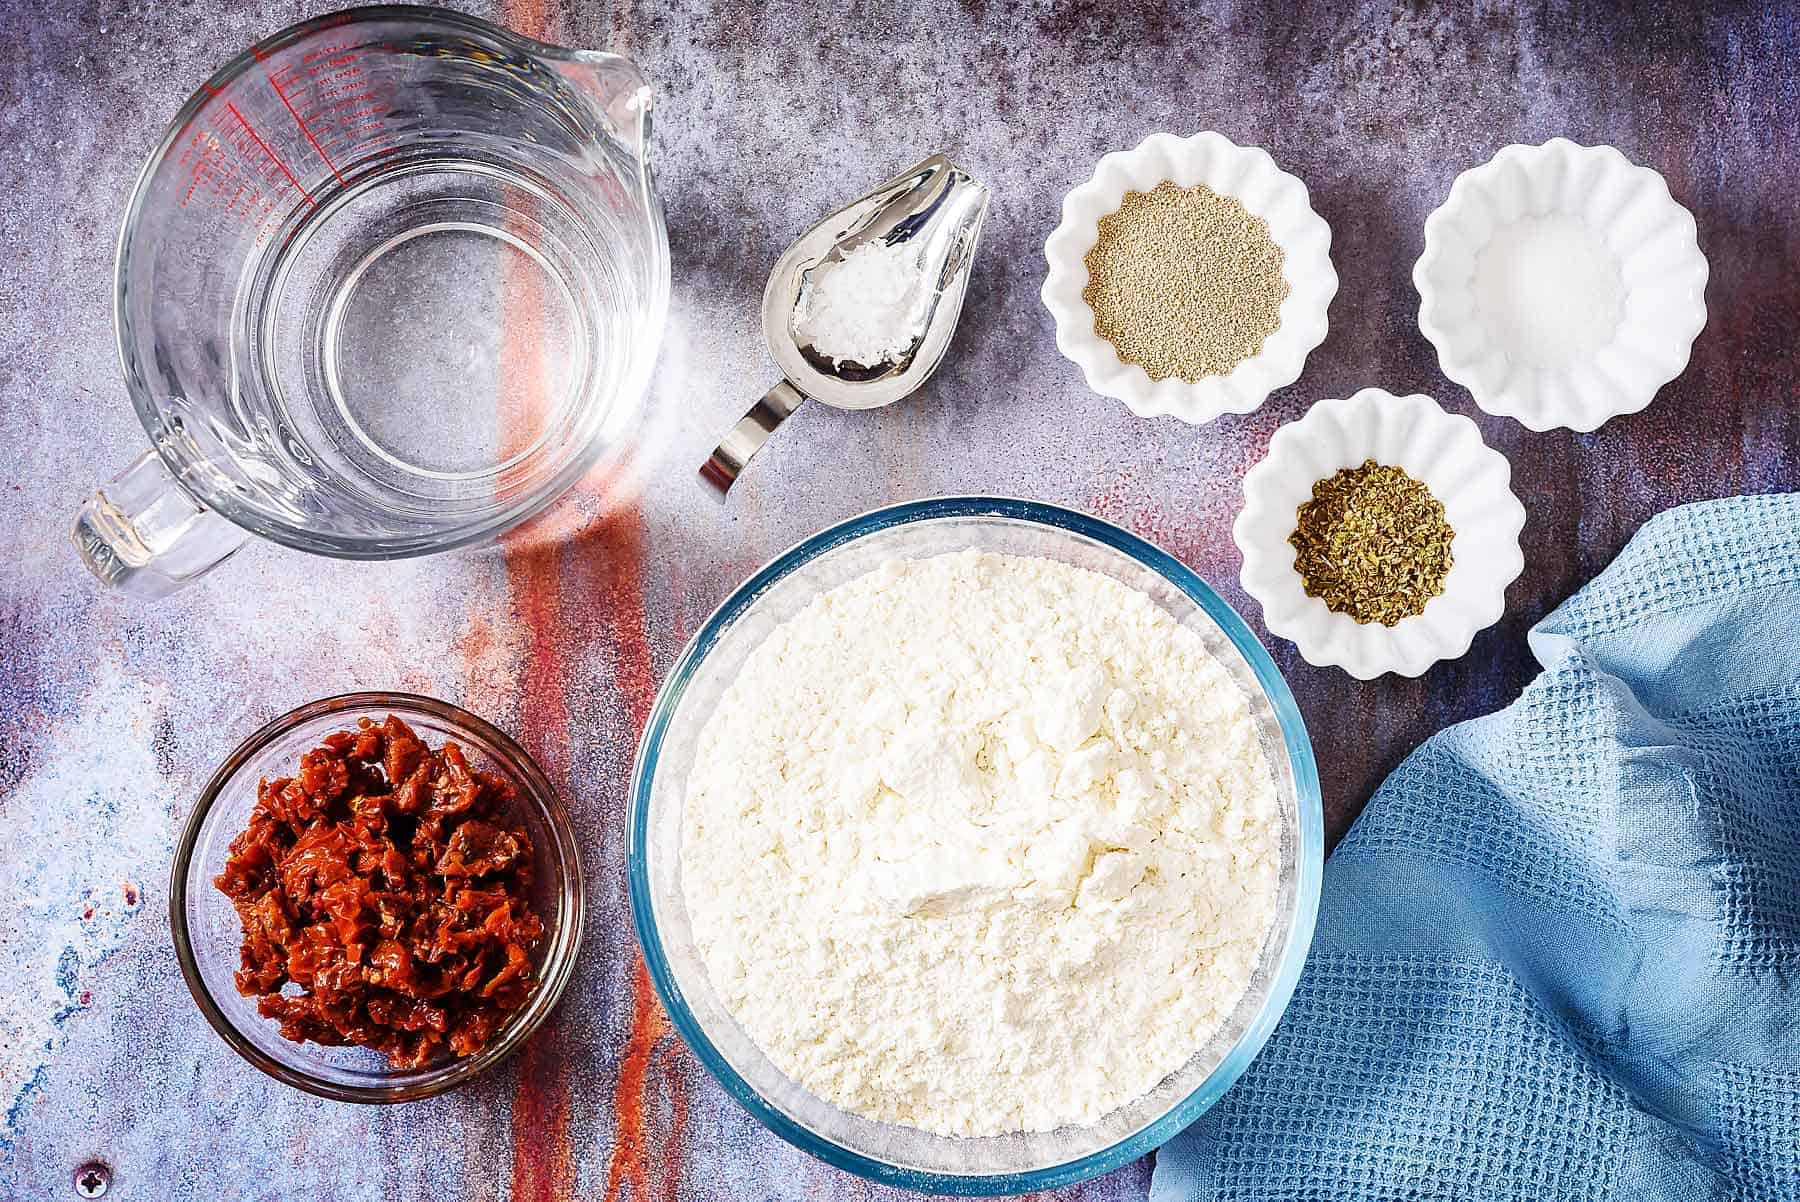
Ingredients
- 5 ml / 1 teaspoon vegan sugar
- 15 g / ½ oz active dried yeast
- 280 ml / 9½ fl oz warm water
- 500 g / 1 lb 3½ oz spelt flour
- 5 ml / 1 teaspoon salt
- 5 ml / 1 teaspoon dried oregano
- 100g / 3½ oz sundried tomatoes in oil, drained and chopped
Directions
- Step 1
- Dissolve the sugar in a bowl, using 150 ml / 7½ fl oz of the warm water. Sprinkle over the active dried yeast and whisk in with a fork. Place in a warm area to activate the yeast. This takes approximately 5 minutes until the top of the water is covered in tiny bubbles.
- Step 2
- Whilst the yeast is activating, place the flour, salt, oregano and sundried tomatoes in a large bowl. Mix together and make a well in the middle.
- Step 3
- When the yeast is ready give it a gentle whisk and add, along with the remaining warm water, to the well in the dry ingredients.
- Step 4
- Gradually combine all the ingredients together using your hand, until all the flour has been mixed in and you have a soft dough.
- Step 5
- Turn the dough out onto a lightly floured surface, and knead for 5 minutes. The dough should be soft and smooth to the touch and you should be able to stretch it slightly without it breaking.
- Step 6
- Place in a clean oiled bowl and cover with oiled cling-film and leave in a warm place to rise for 20 minutes.
- Step 7
- After 20 minutes, gently turn the risen dough onto a lightly floured surface and gently knead again to dispel any air bubbles that have formed.
- Step 8
- Now shape into a circle about 2.5 cm / 1 inch tall and place on a lined, or lightly greased, baking tray. Slash the top with a sharp knife to form a diamond-shaped pattern. Loosely cover with oiled cling-film and leave to prove/rise for another 20 minutes.
- Step 9
- After the bread has been proving for 5 minutes, preheat the oven to 180℃ fan/200℃/400°F/Gas 6 to allow it to get up to temperature.
- Step 10
- After the bread has been proving for 20 minutes, remove the cling-film and bake in the middle of the oven for 25-30 minutes. When cooked, the bread will sound hollow when tapped on the bottom.
- Step 11
- Place the cooked bread on a wire rack to cool.
