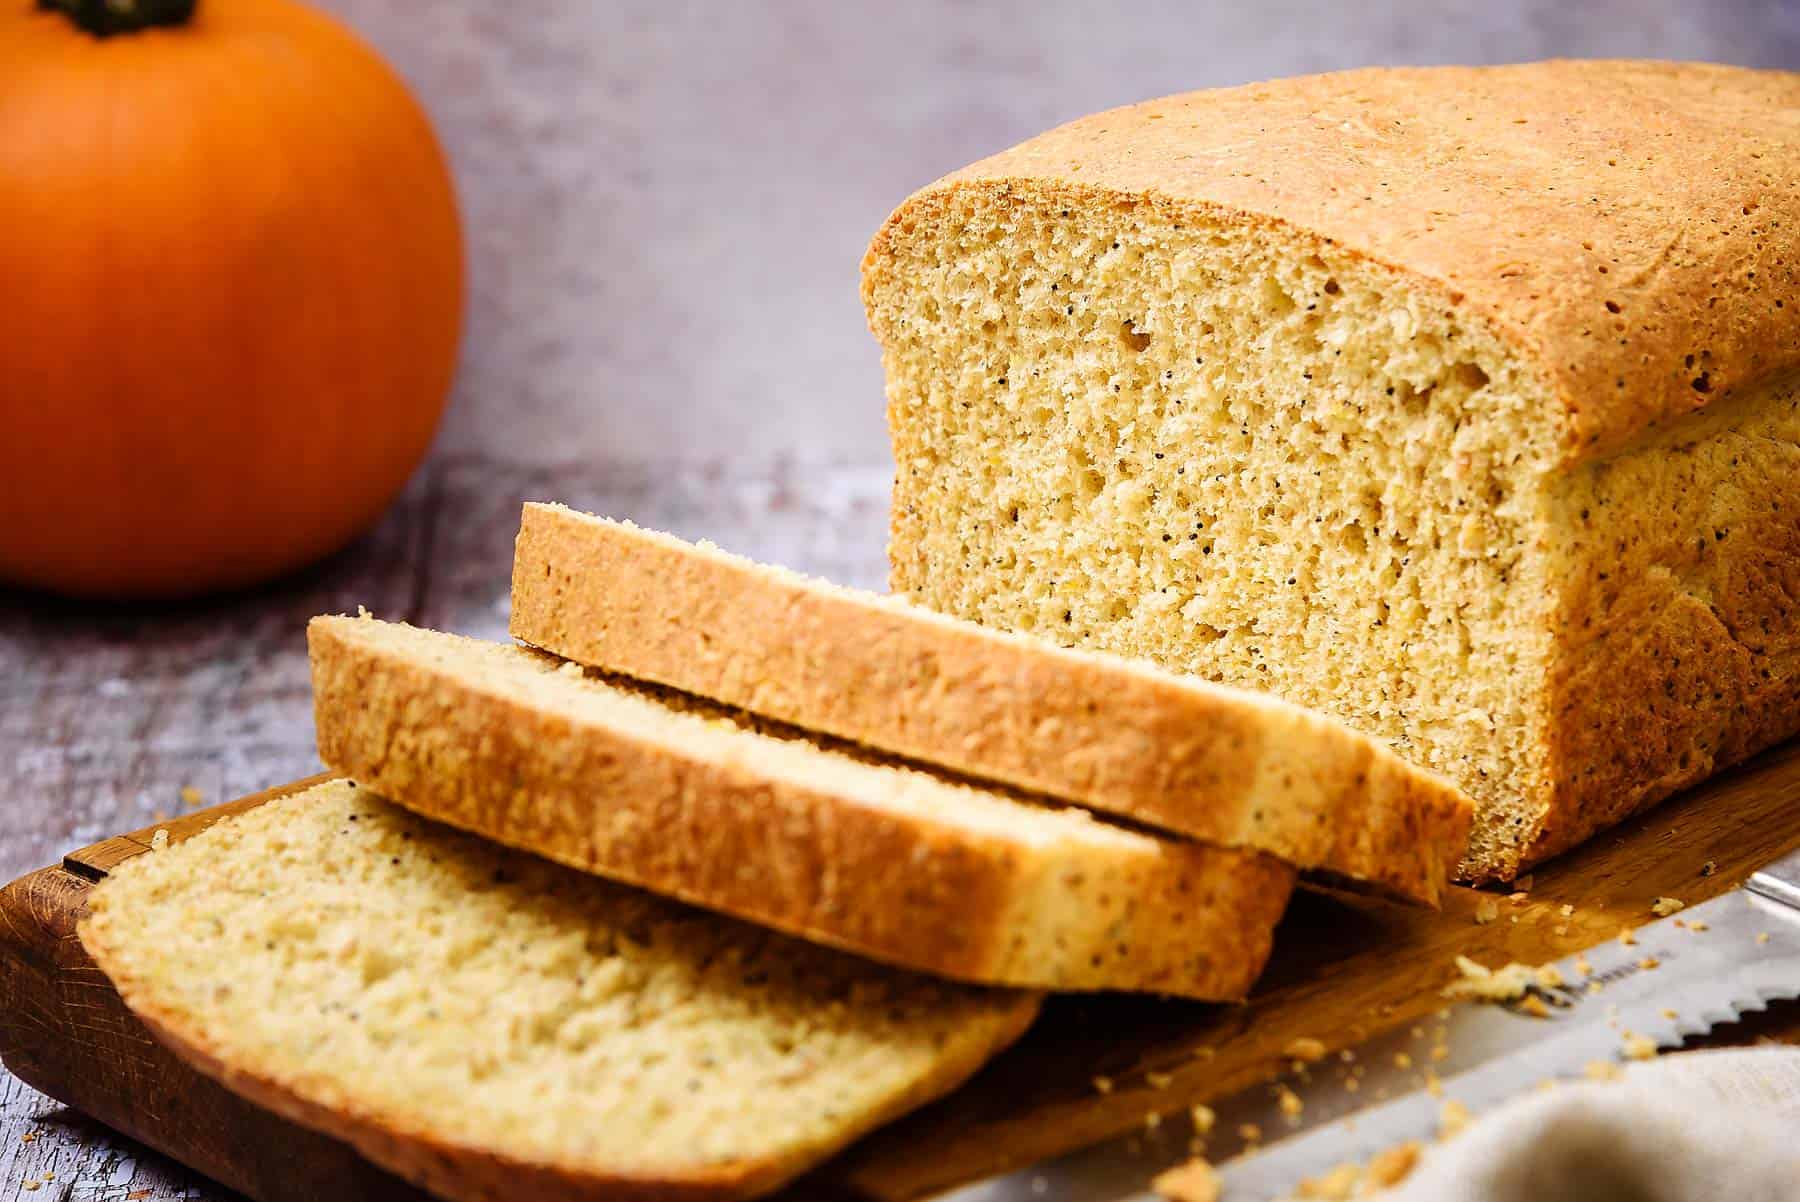
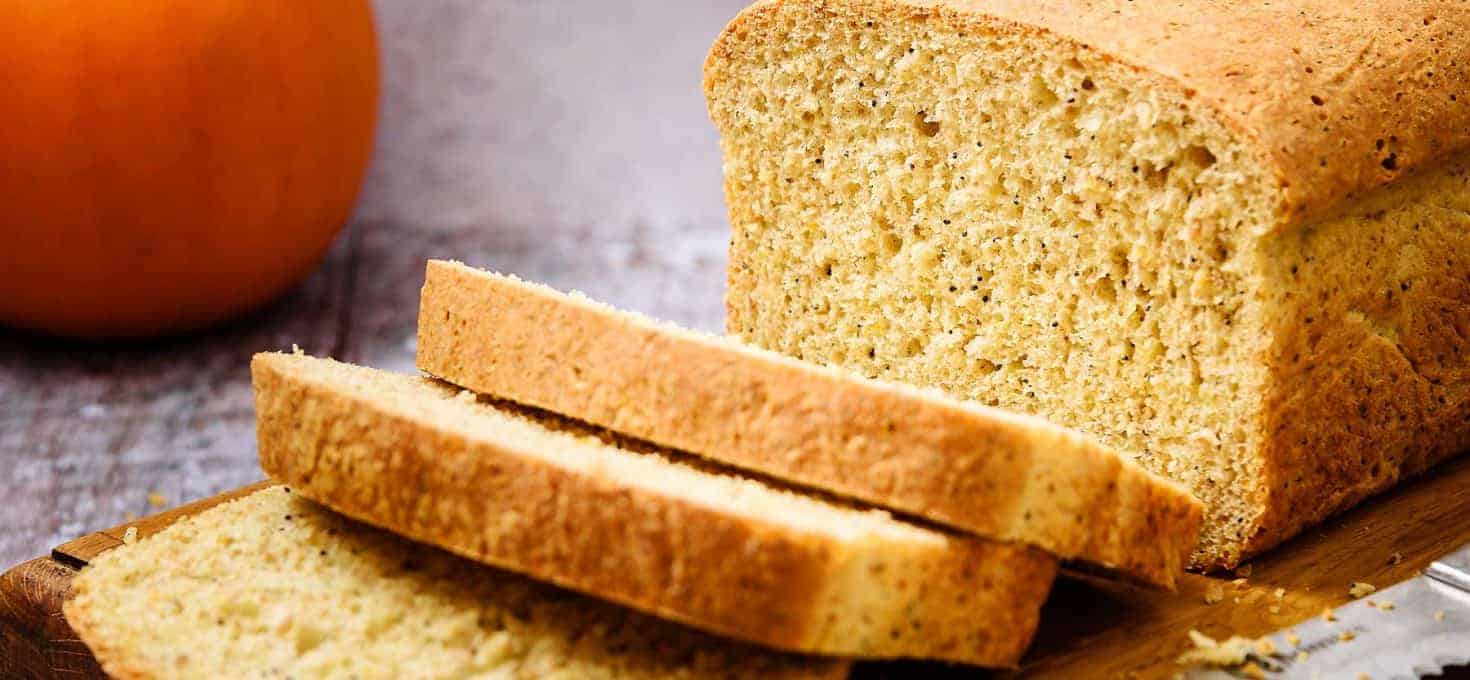
This Vegan 3-Seeded Pumpkin Bread is really delicious. Soft and light and full of goodness. What better in Pumpkin season?
I used to have a bread machine but once I started making bread by hand, I never looked back. And, needless to say, I got rid of the bread machine.
Making bread by hand can be so therapeutic, especially if you are feeling a bit tense. Kneading the dough really does help to de-stress you.
And the end result could not be more rewarding for your efforts!
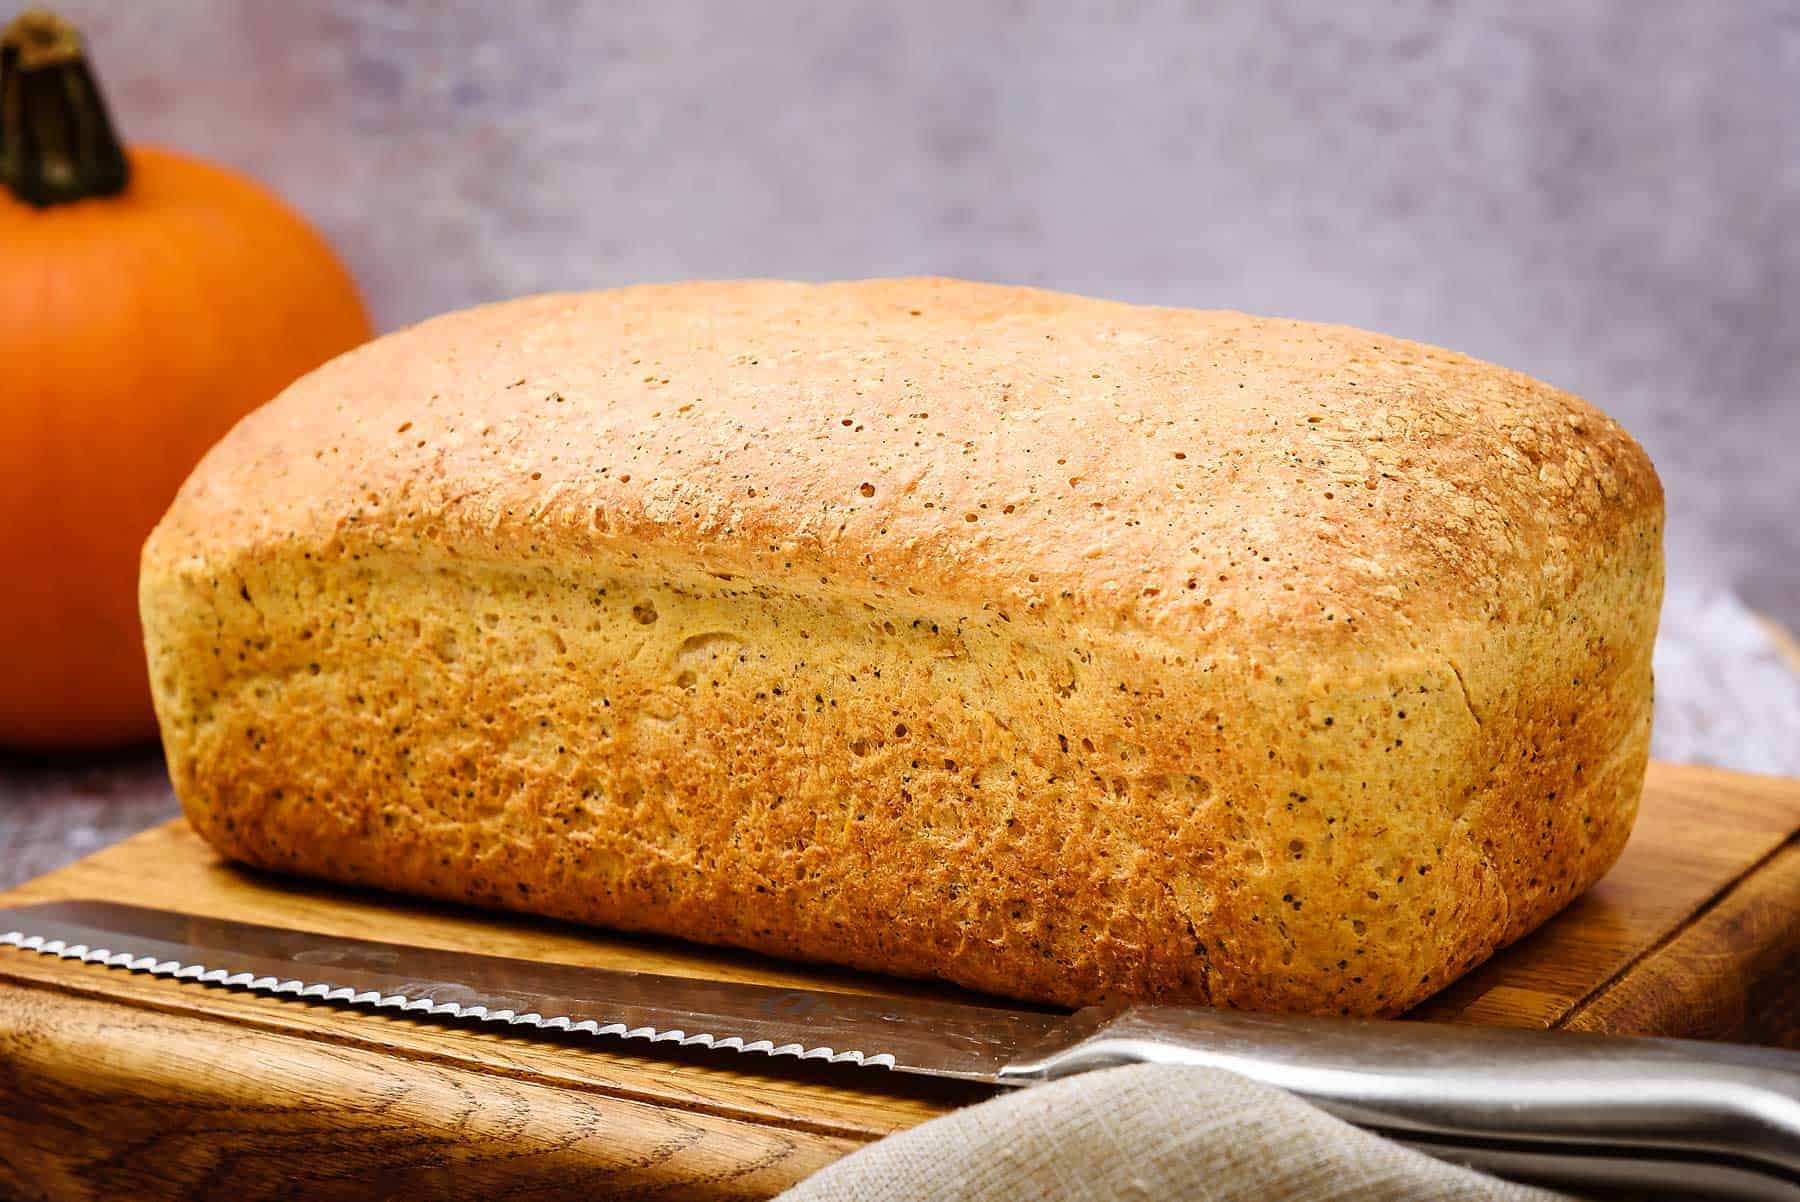
Making this wonderful Vegan 3-Seeded Pumpkin Bread is not that difficult
The most important thing is having a warm place for the dough to rise.
You may ask – what’s the secret of good bread making?
To be honest, I don’t know. I just know what works for me and can share that with you.
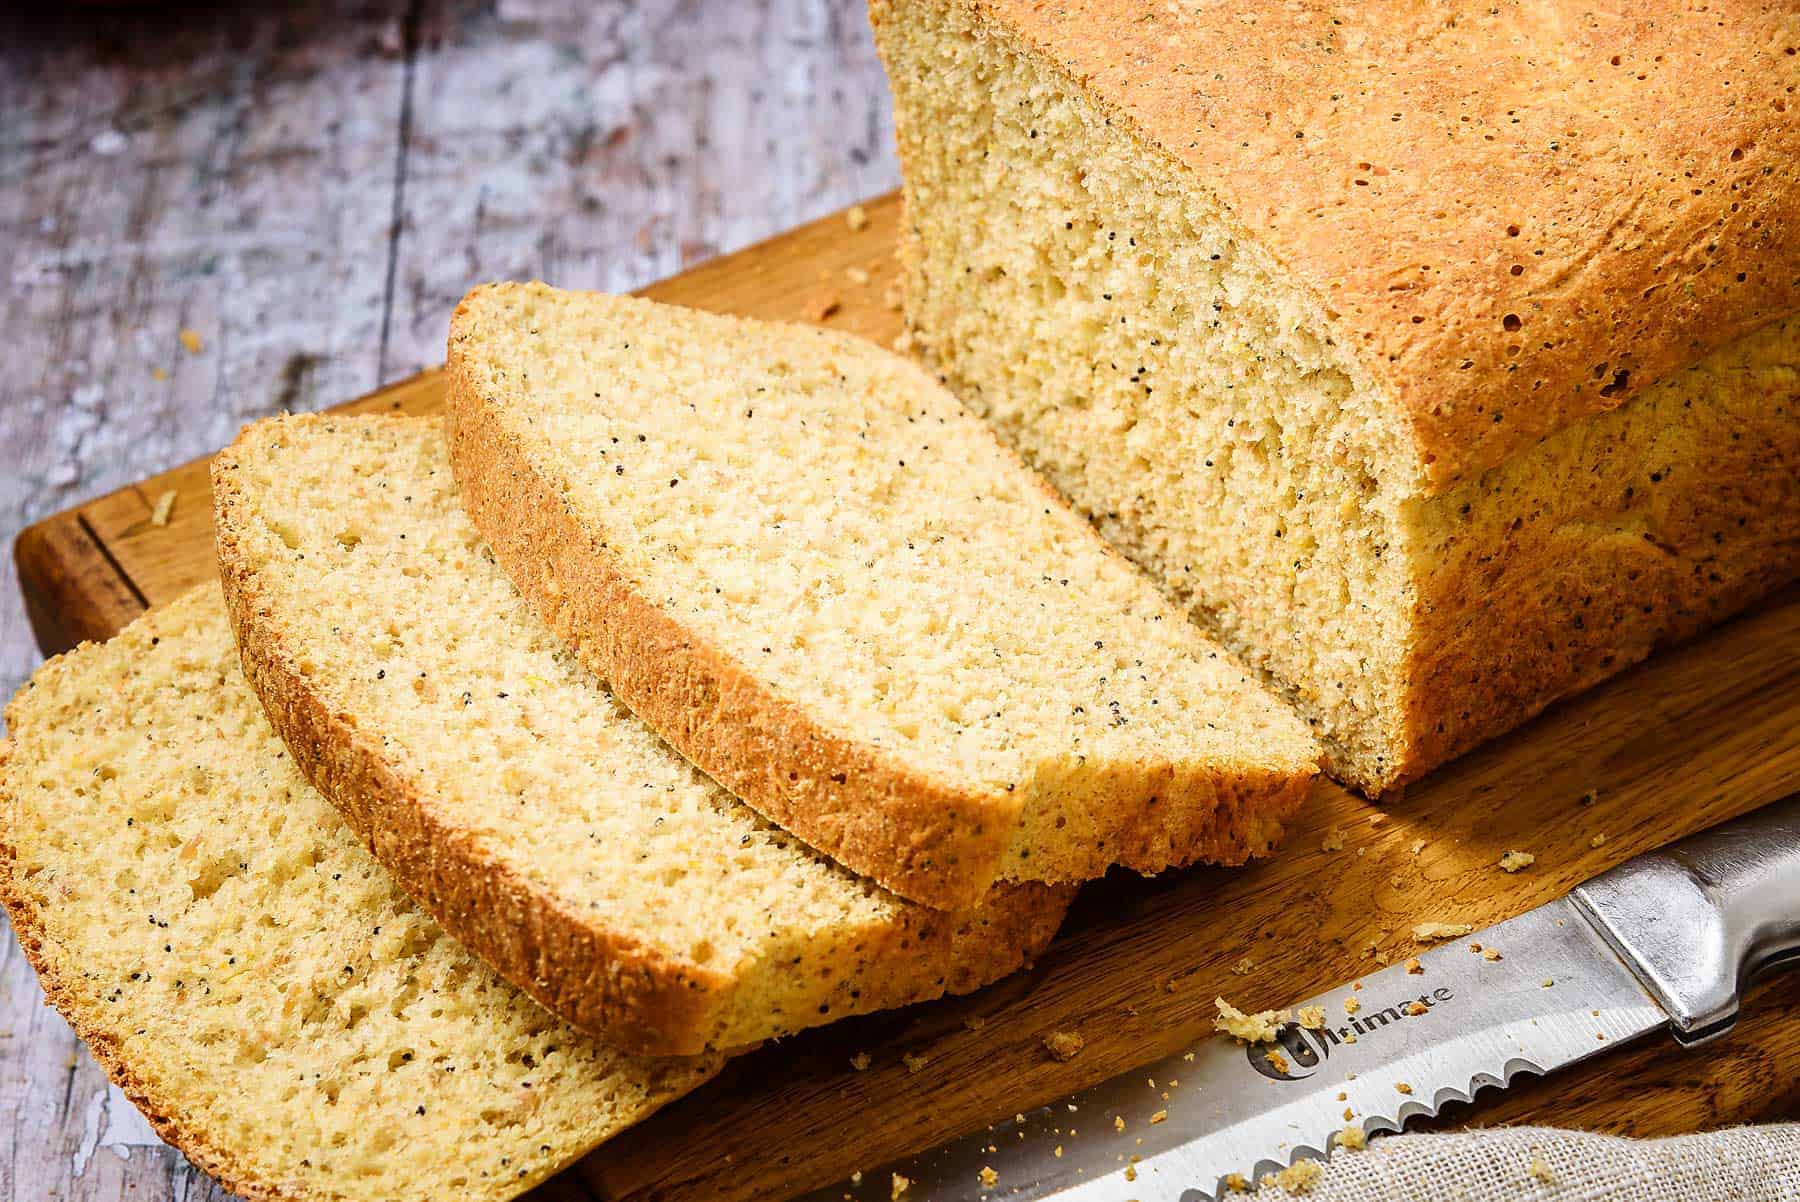
There is a beautiful crust on this loaf and the pumpkin really adds to the colour, along with the wholemeal flour.
This is also the case with my Vegan Rustic Pumpkin Scones, the pumpkin has developed a lovely colour to their outsides.
3-Seeded Goodness!

Being quite a massive fan of bread, any type will do, I do try to be a bit healthy too!
Therefore, I like to use some, if not all, wholemeal flour, when it suits the bread I am making.
And putting seeds in just adds to the health benefits of eating a slice of this yummy Vegan 3-Seeded Pumpkin Bread.
And the pumpkin – well you’ve got to add some in the month of October! ????
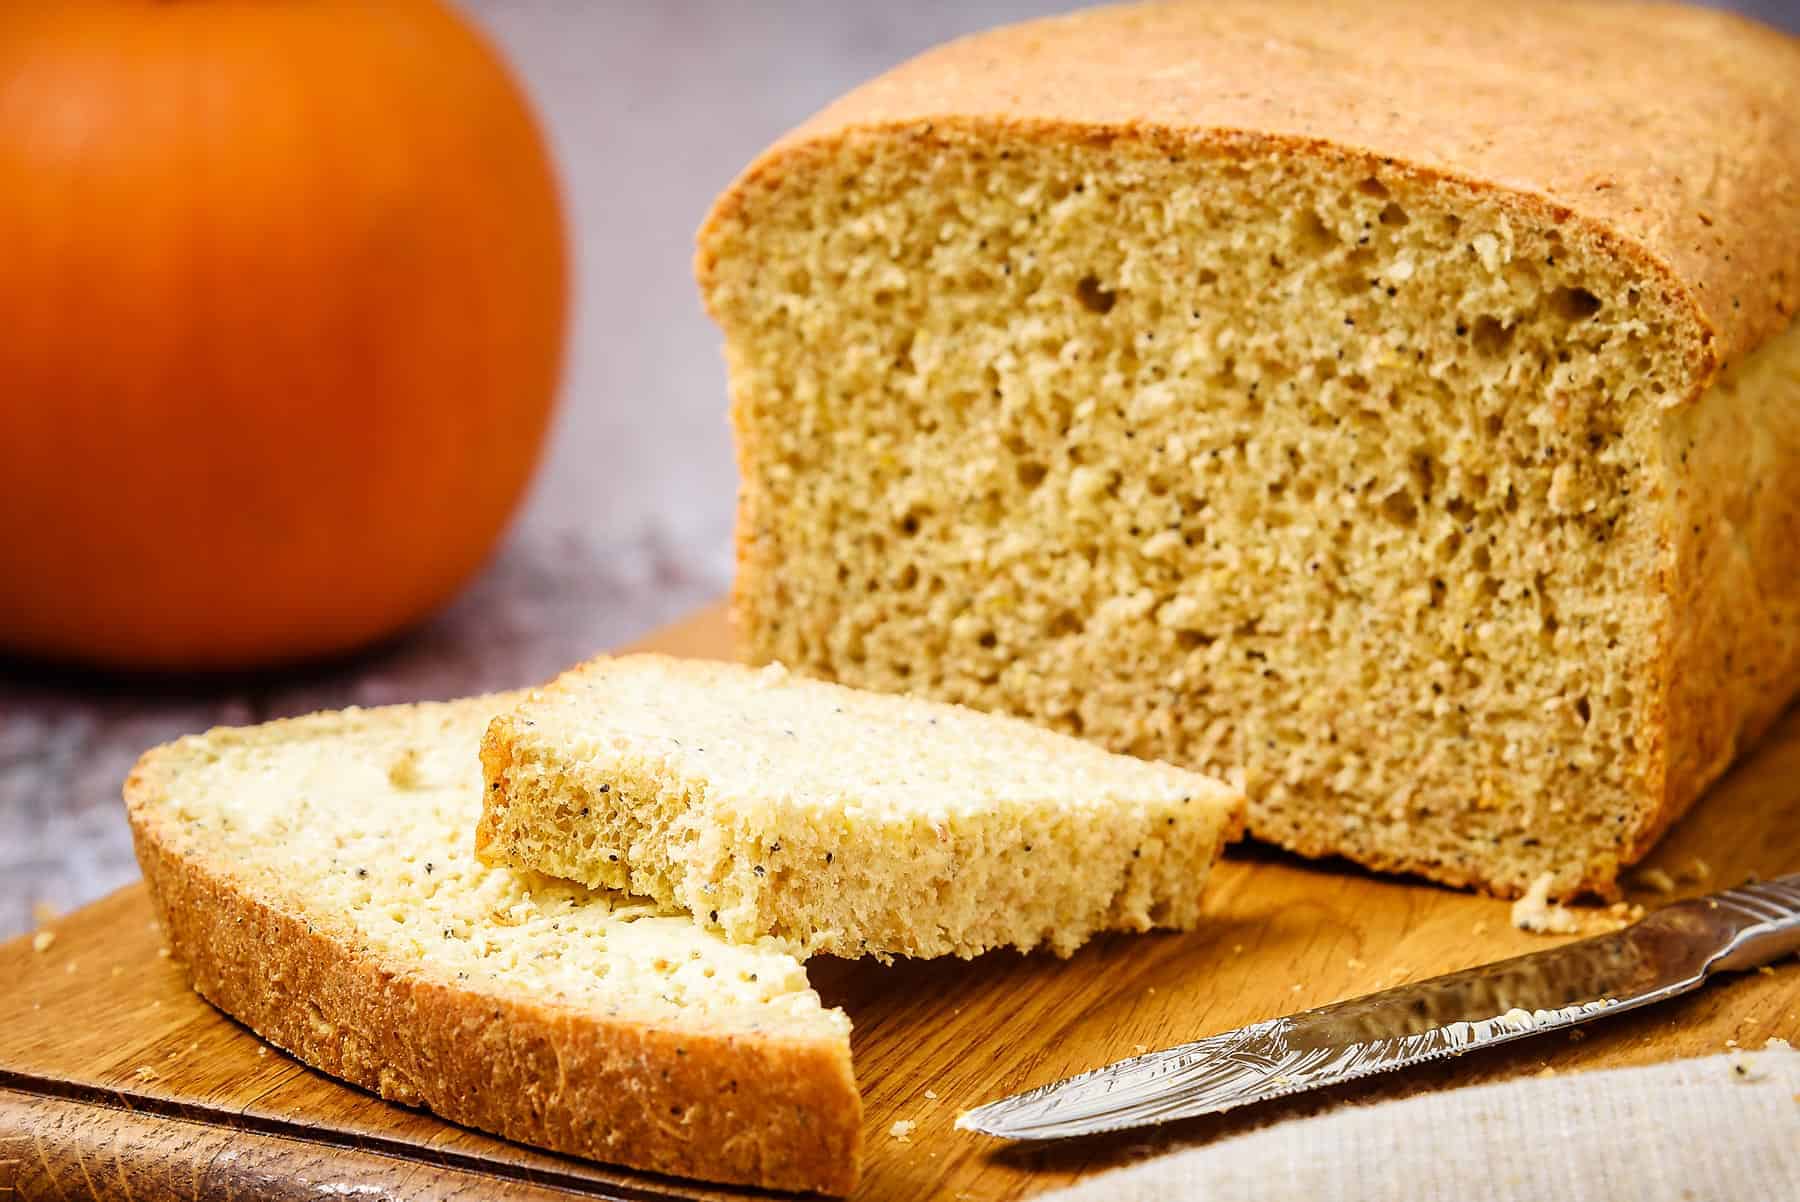
There are so many benefits to adding seeds to your food. Vegan or not, we all need the nutrients that are gained from these wonderful food sources.
Let’s get making this delicious Vegan 3-Seeded Pumpkin Bread!
Start by cooking the diced pumpkin as per directions in the recipe.
Don’t worry if you do not have a microwave, you can still achieve this in a pan on the hob with extra water otherwise it will dry out and burn. However, you may need to strain any excess liquid before mashing the cooked pumpkin.

Whilst the pumpkin is cooling, activate the yeast as per directions in the recipe.
I find I have better results by using Active Dried Yeast, rather than the sachets of dried yeast. So it’s important that you buy the correct yeast.
You can tell which one it is as it comes in a small can and will have the directions on the side. But please be aware that non-active dried yeast can also come in a can, so please check before purchasing.
When the yeast has activated – it only takes about 5 minutes if the ambient temperature is warm enough – it will look like a bowl of froth.
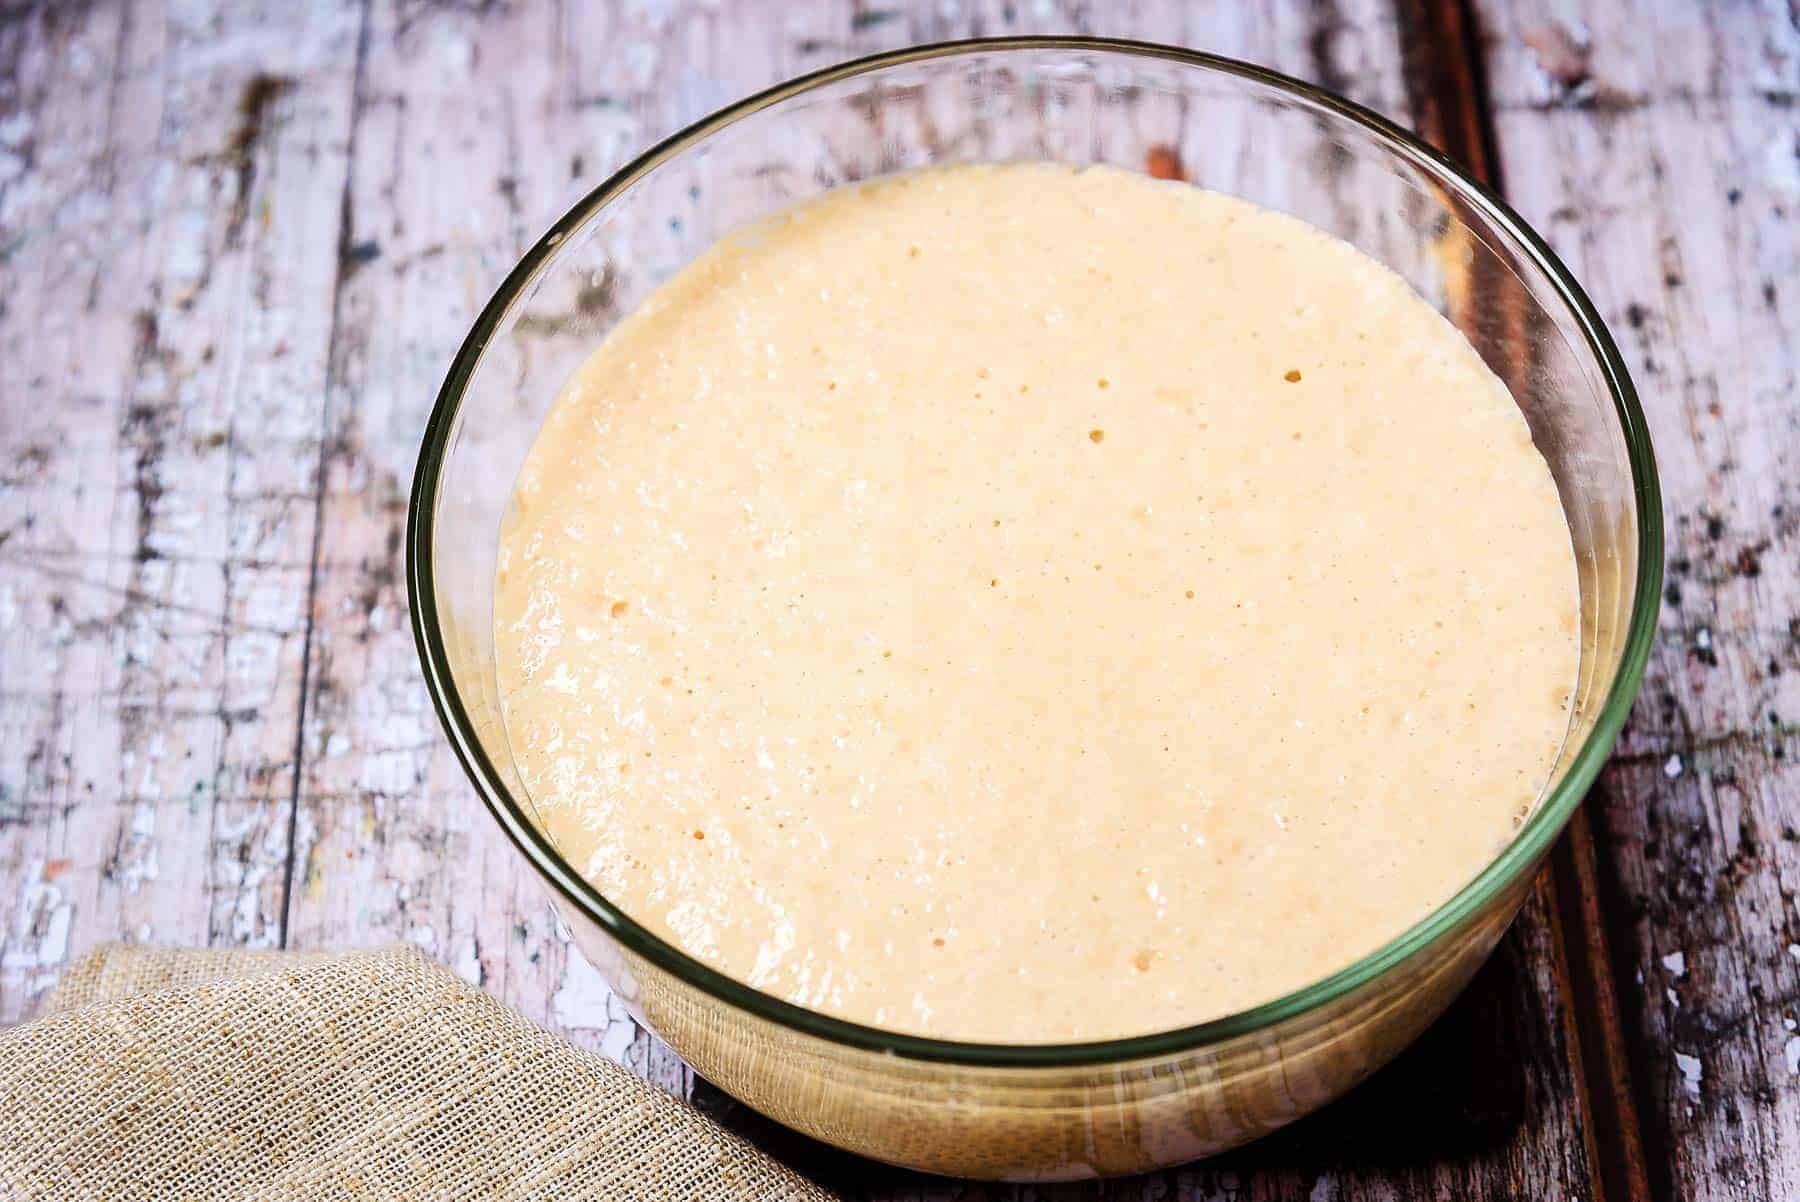
So whilst the yeast is activating you can place all the dry ingredients in a bowl and make a well ready for the liquids.
Give the activated yeast a gentle whisk with a fork and pour it into the well with the cooled mashed pumpkin and the remainder of the warm water.
Then gradually bring it together with your hands, to form a soft dough.
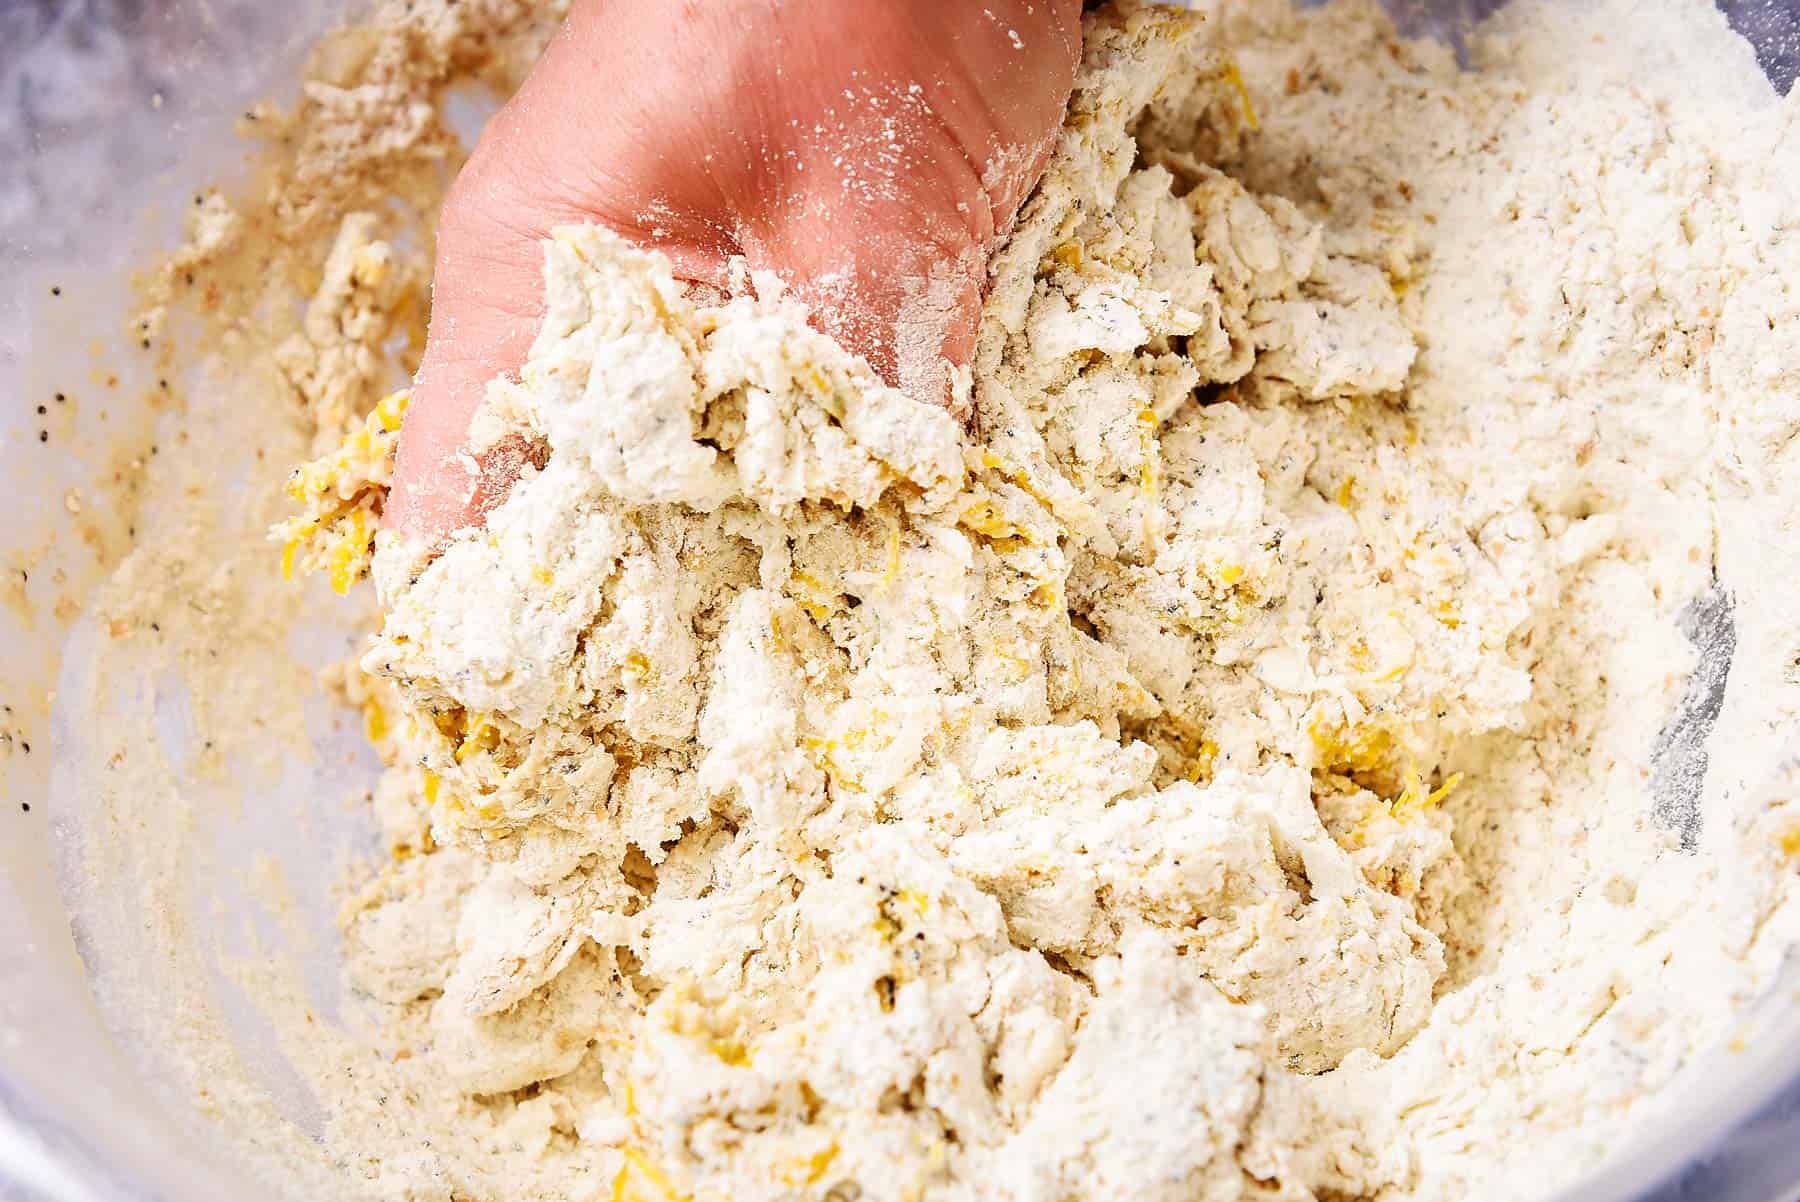
Then turn out onto a lightly floured surface and knead for at least 10 minutes using the palms of your hands to stretch the dough out, fold it back, and stretch it out again. Repeating this throughout.
I find it’s easier to alternate my hands i.e. right then left.
If you have one, set a timer as it’s easier than clock-watching.
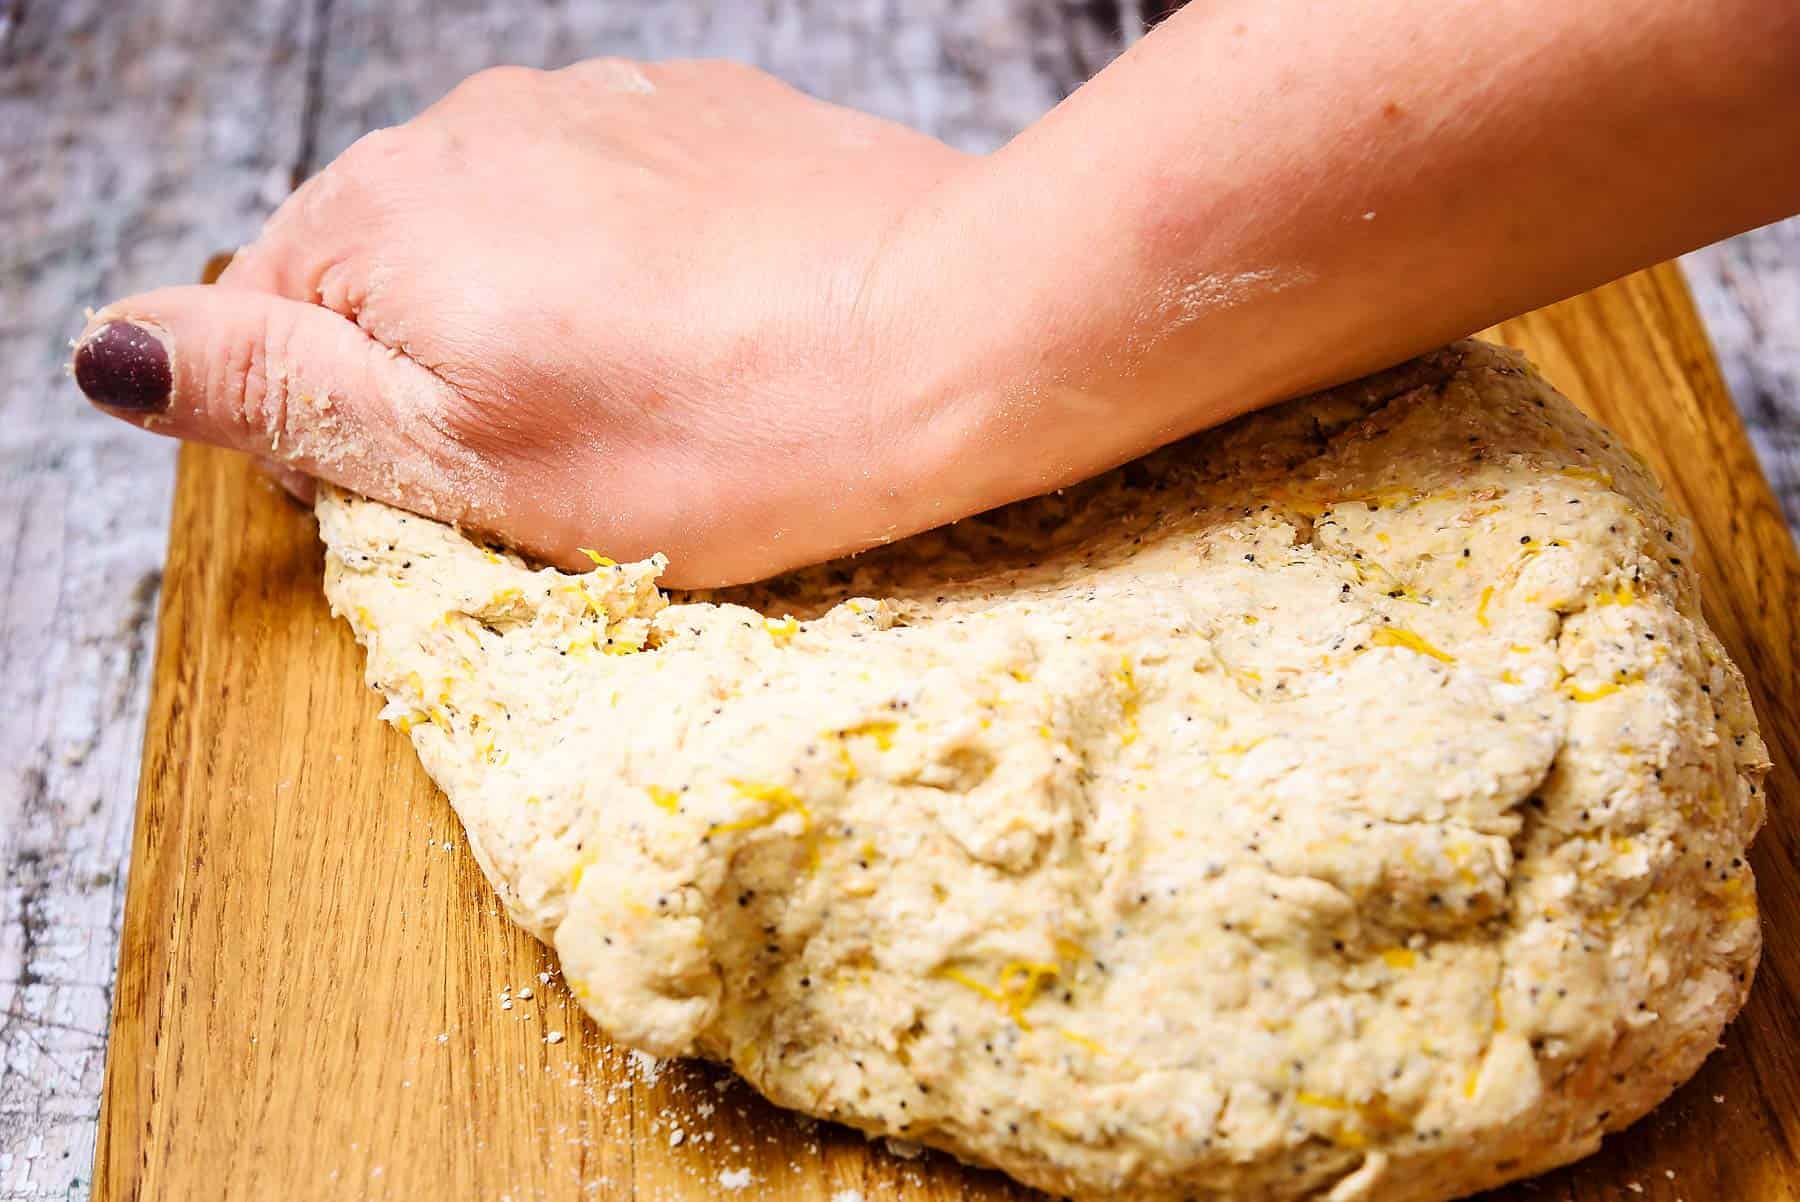
You are looking for a lovely smooth and soft to the touch dough that is not sticky.
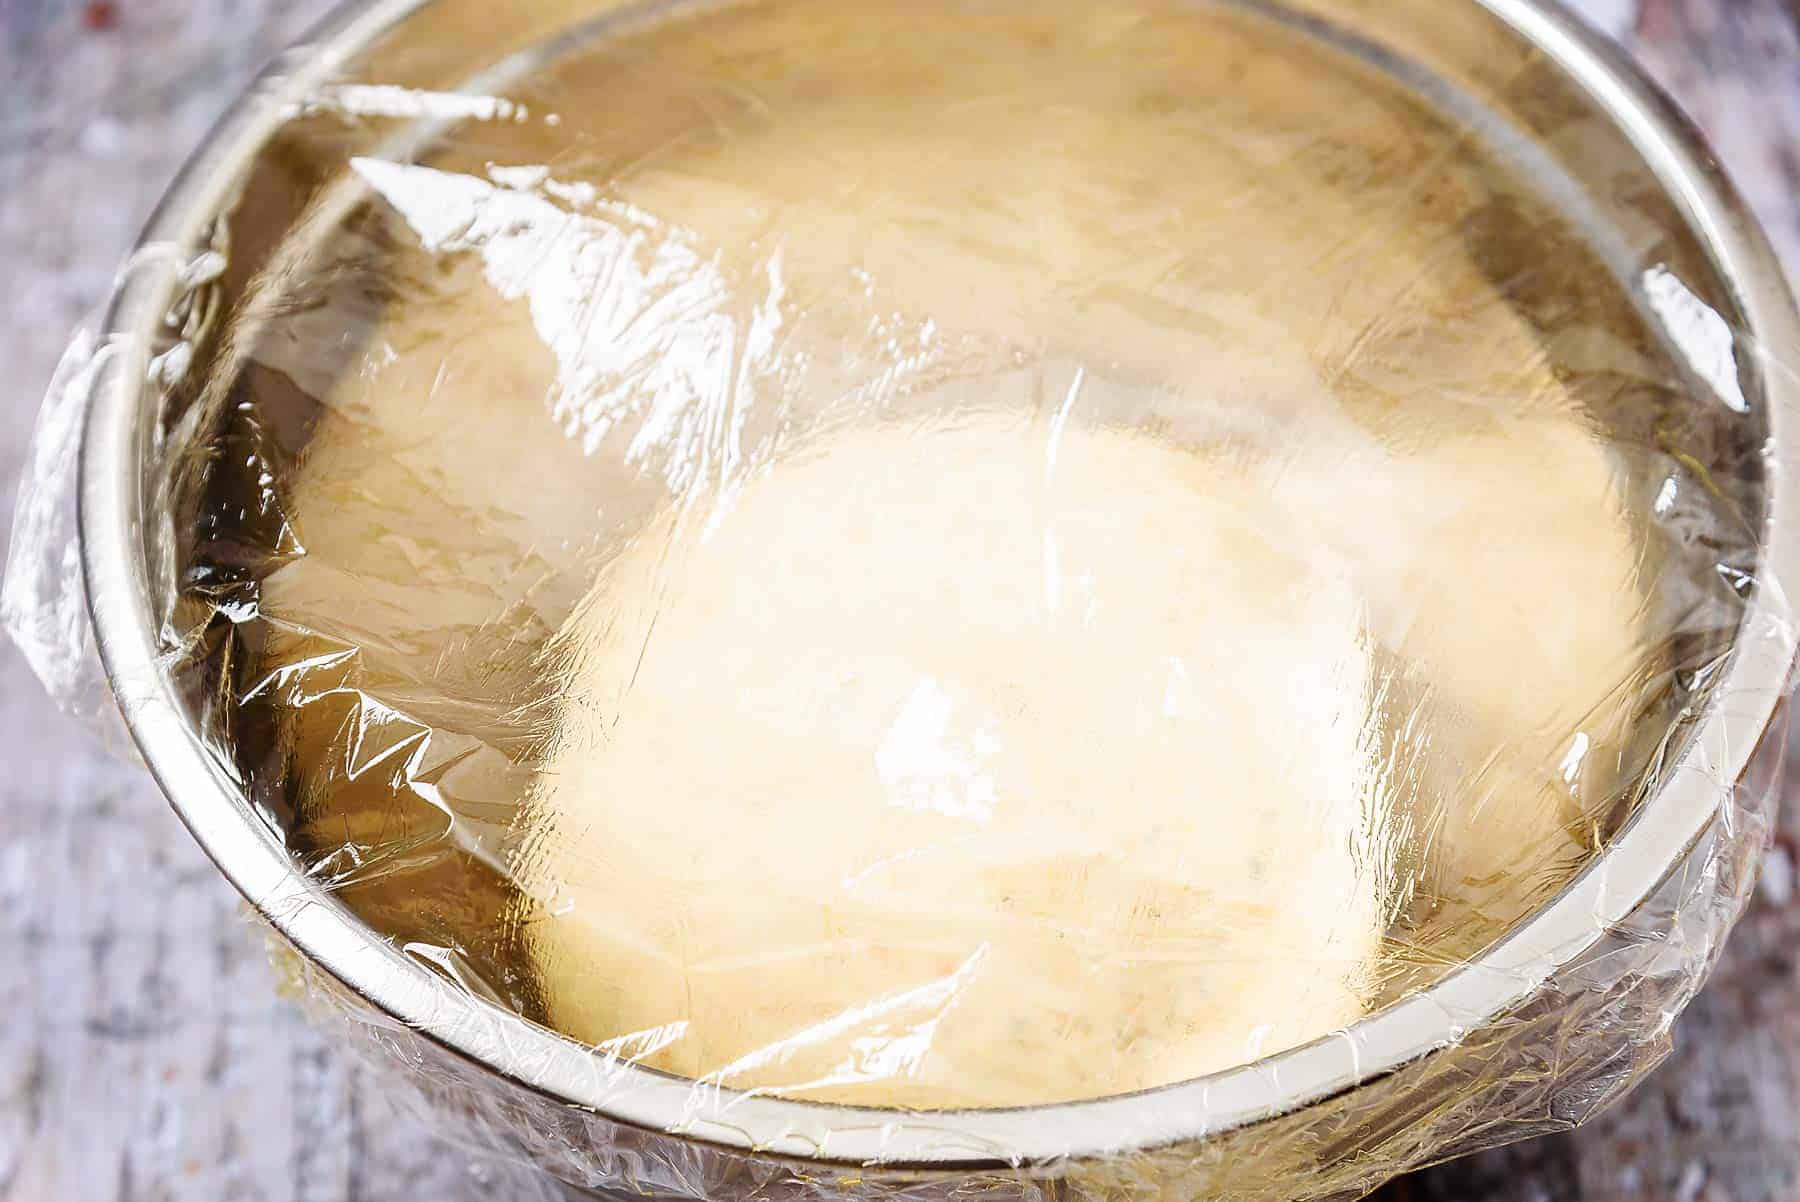
Once you have achieved this, place the dough in an oiled bowl and cover with oiled cling-film so that the dough does not form a ‘skin’.
Proving or Rising the dough
Proving and rising are basically the same thing but some recipes may use one or the other term, or both. Thus, in this recipe, I have used both terms.
If you have kneaded your bread well, it’s during the proving/rising stage that things could go wrong and you end up with a loaf of bread that looks nothing like the photo in the recipe you are following.
So that’s where temperature plays a crucial part in how well your dough rises, or not, as the case may be.
I have already mentioned that I prefer to use the Active Dried Yeast, and that’s because, given the right temperature, in my experience, it works faster than dried yeast. Therefore, alleviating my impatientness. ????
The first rise always works well in 30-40 minutes and achieves a dough that has at least doubled in size and is full of lovely air bubbles.
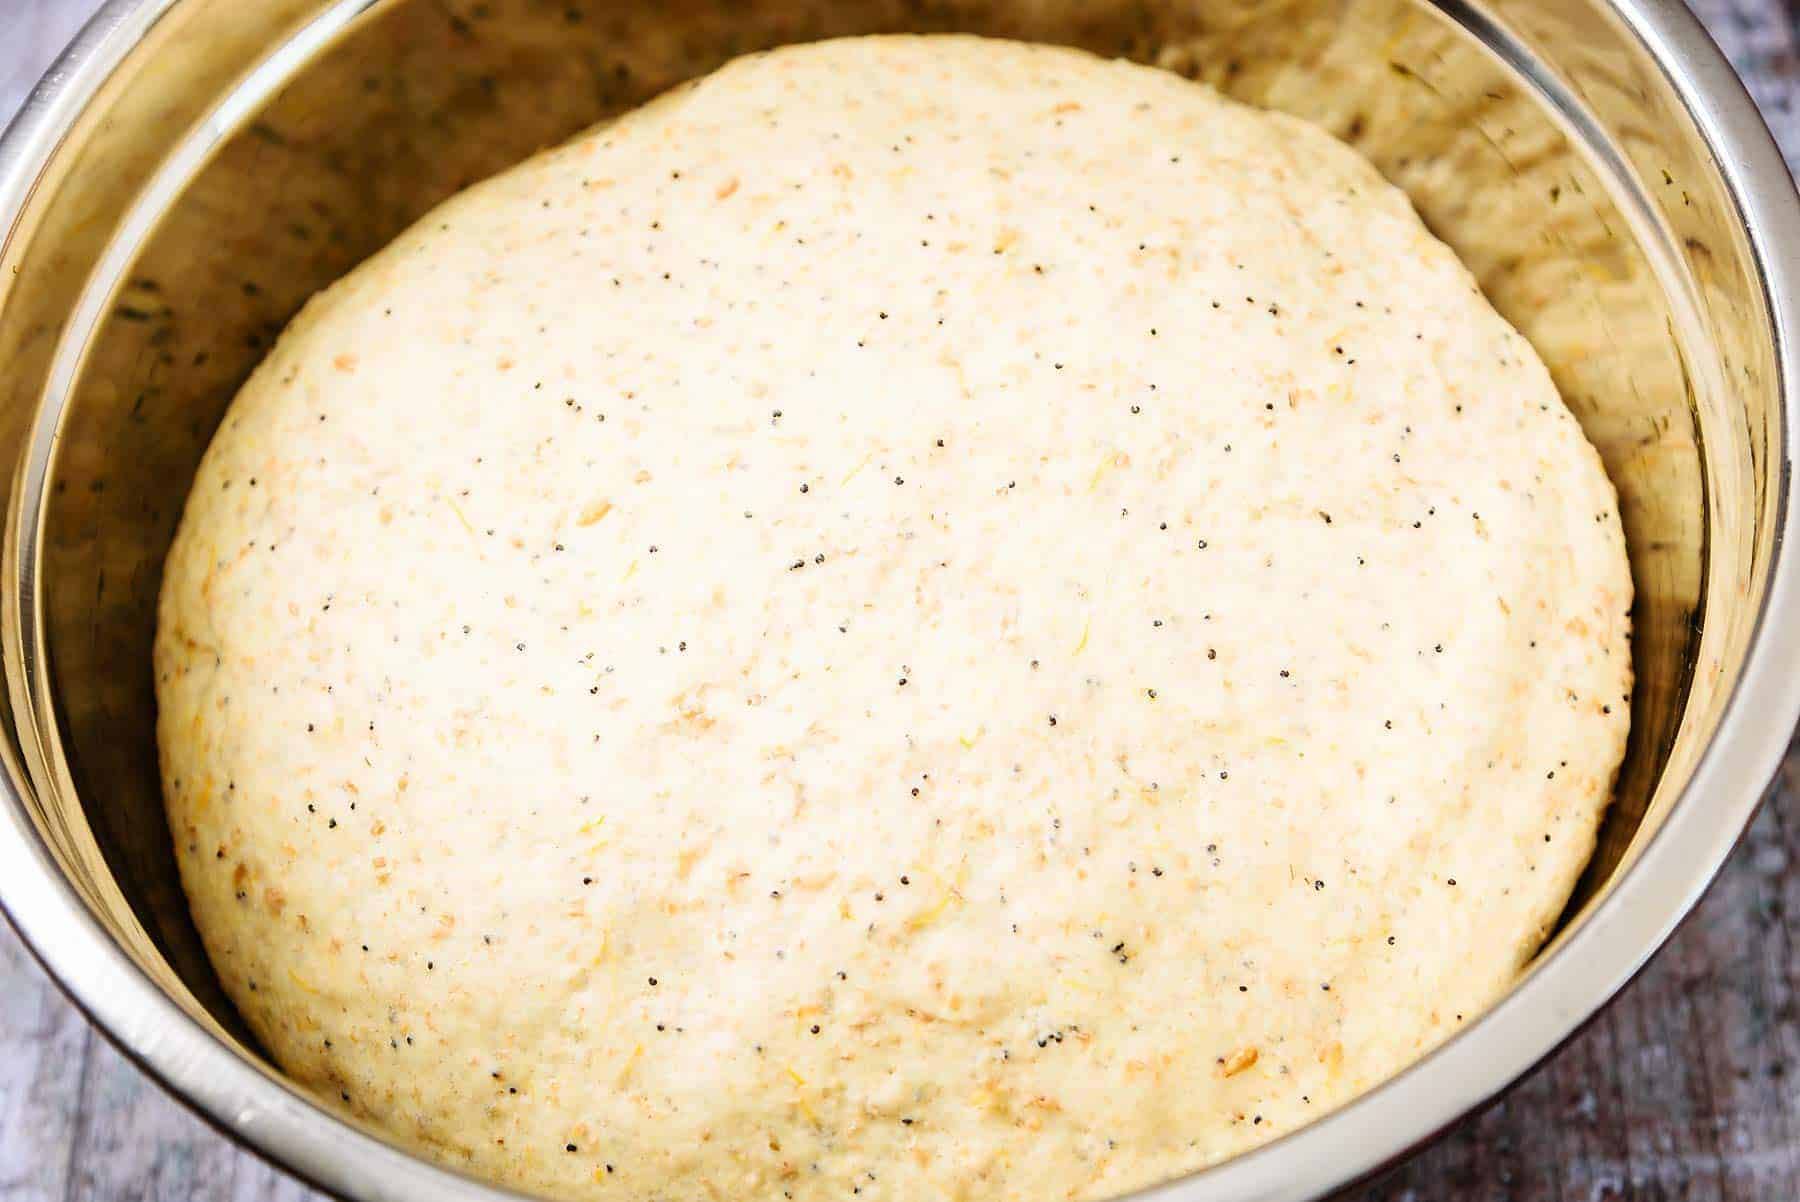
But to cook it at this stage would result in you having big holes in your loaf – great if you are making Ciabatta as Ciabatta calls for big holes. But this Vegan 3-Seeded Pumpkin Bread does not!
‘Knocking’ Back!
Therefore, it’s important to ‘knock’ it back. This is a process that disperses the air bubbles and can be done by turning the risen dough out and lightly kneading it again by pushing your knuckles into the dough, folding it, and repeating a couple of times.
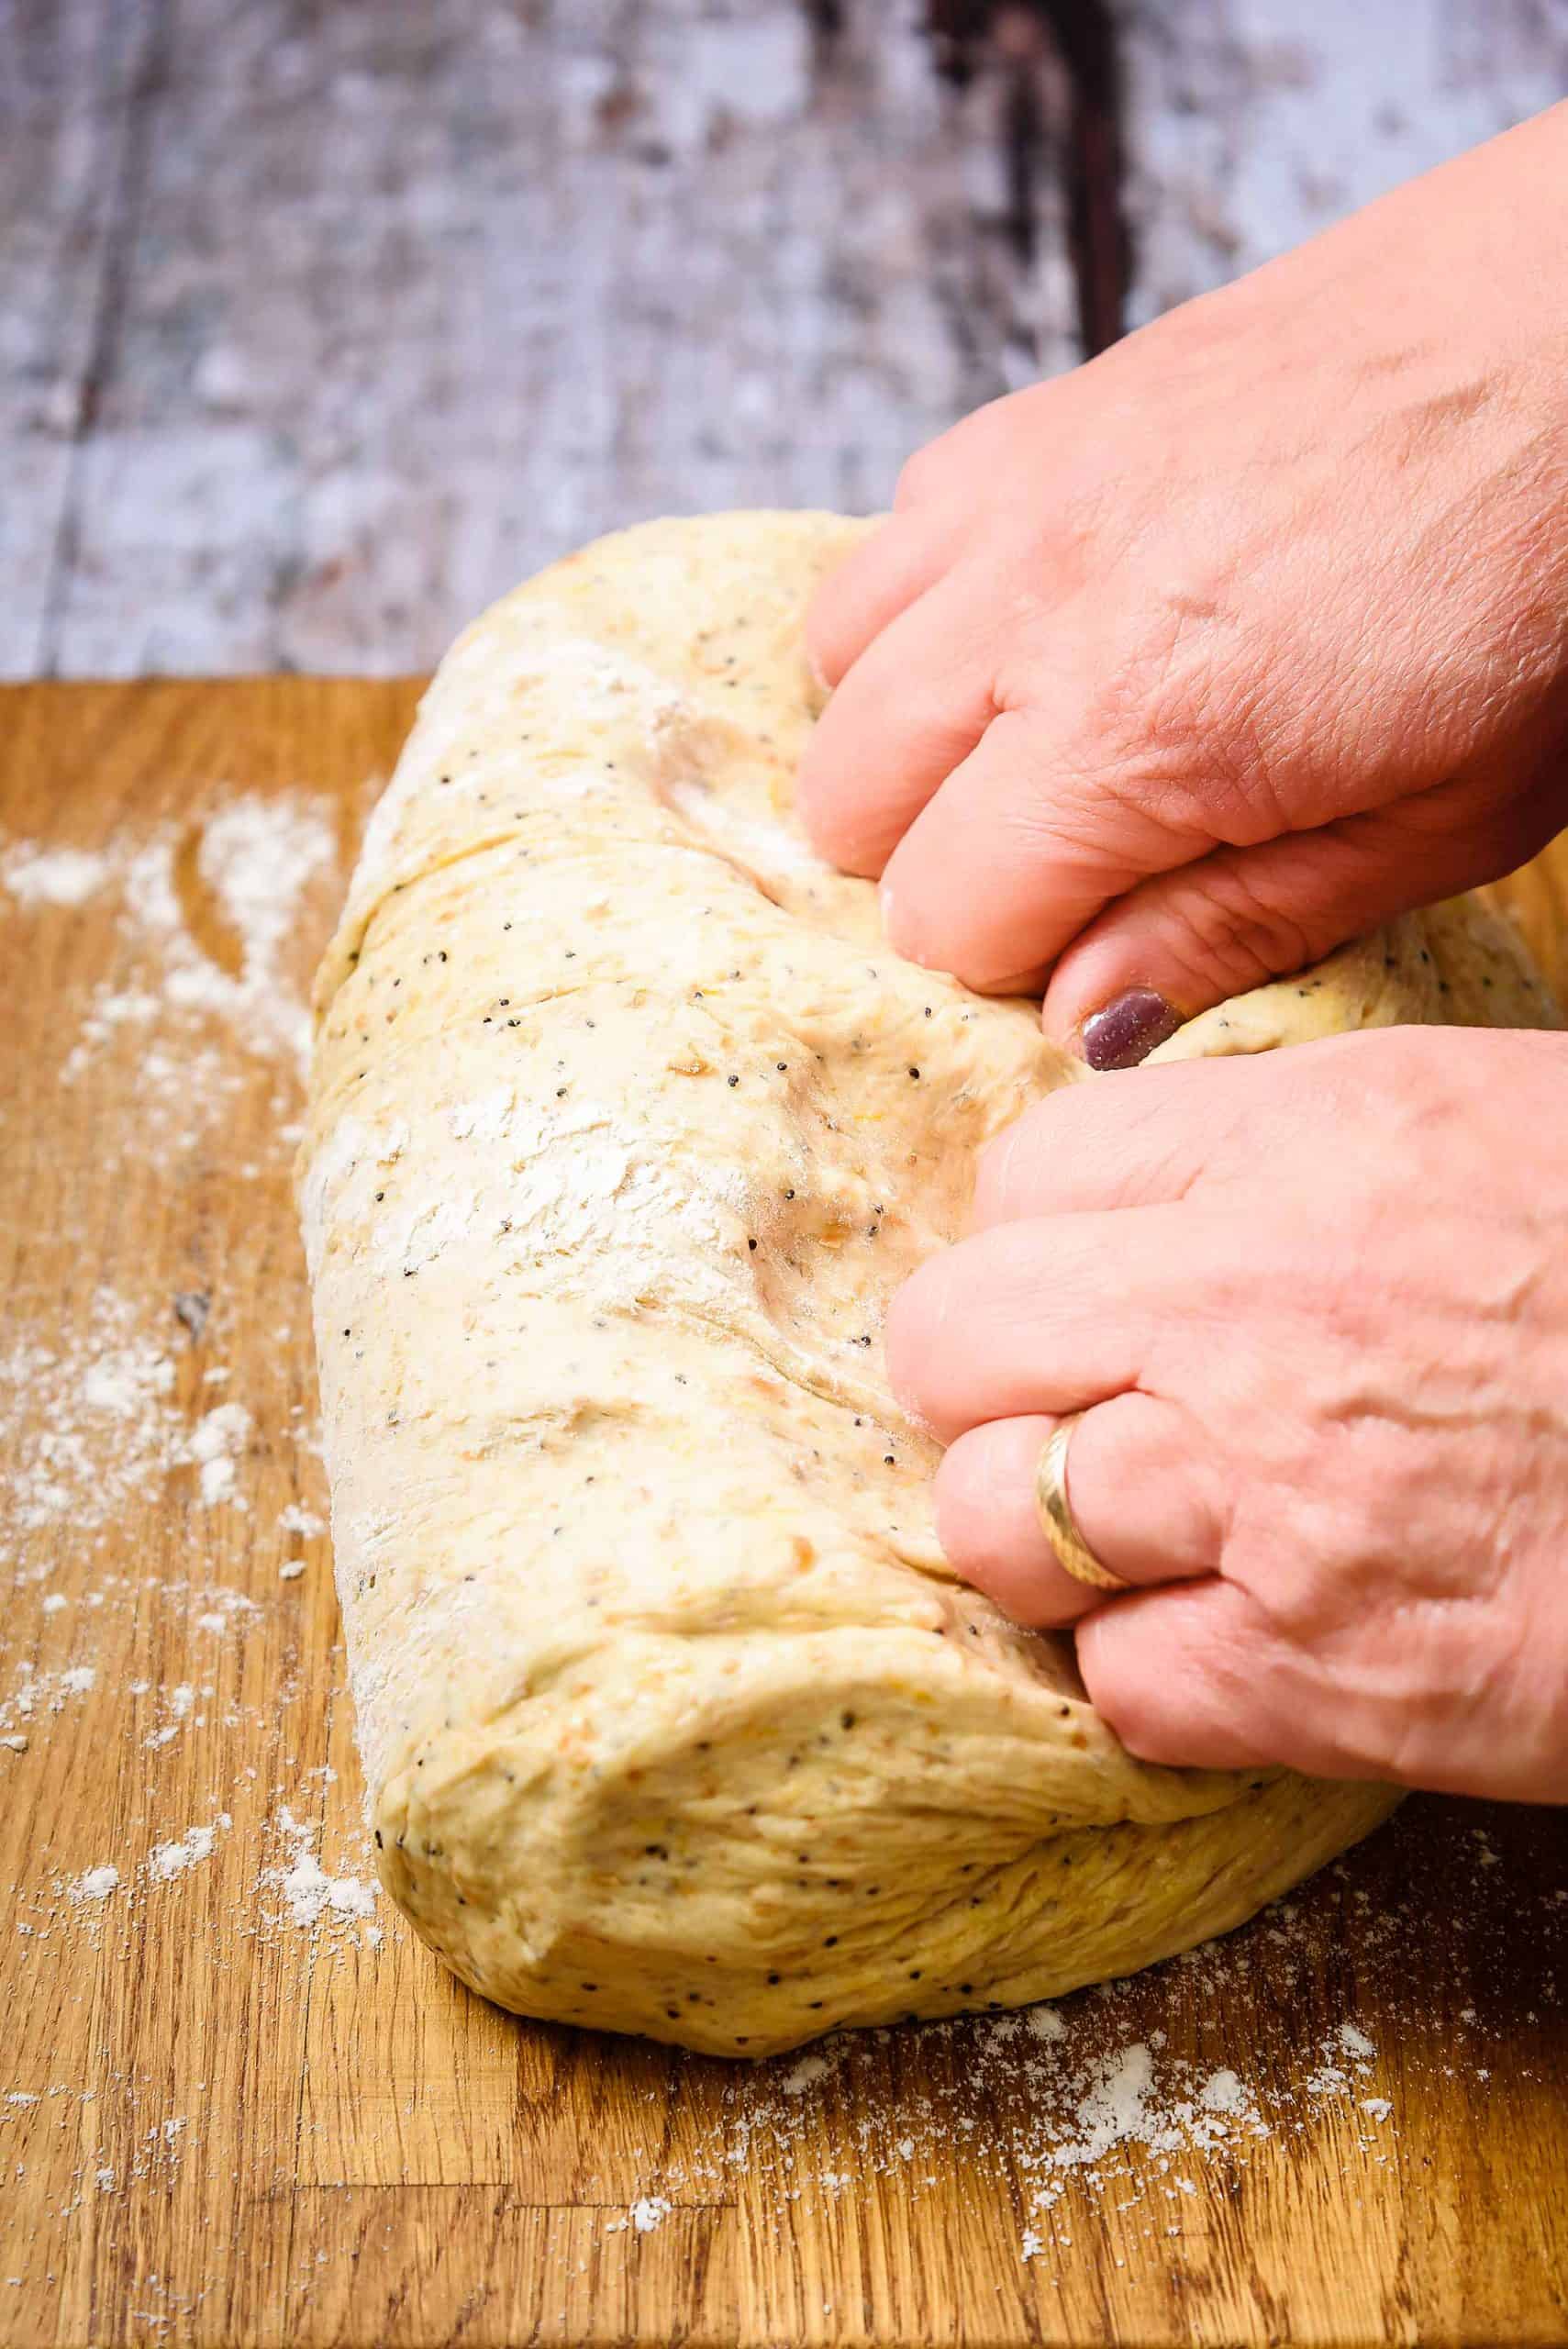
Once you have done this, your dough should still be soft and smooth to the touch.
So now you can shape it to fit your loaf tin. This recipe makes a dough that will fit into a 900 g / 2 lb loaf tin.
Again, cover with oiled cling-film but do not pull it tight as it will need to lift with the dough as it rises for the second time.
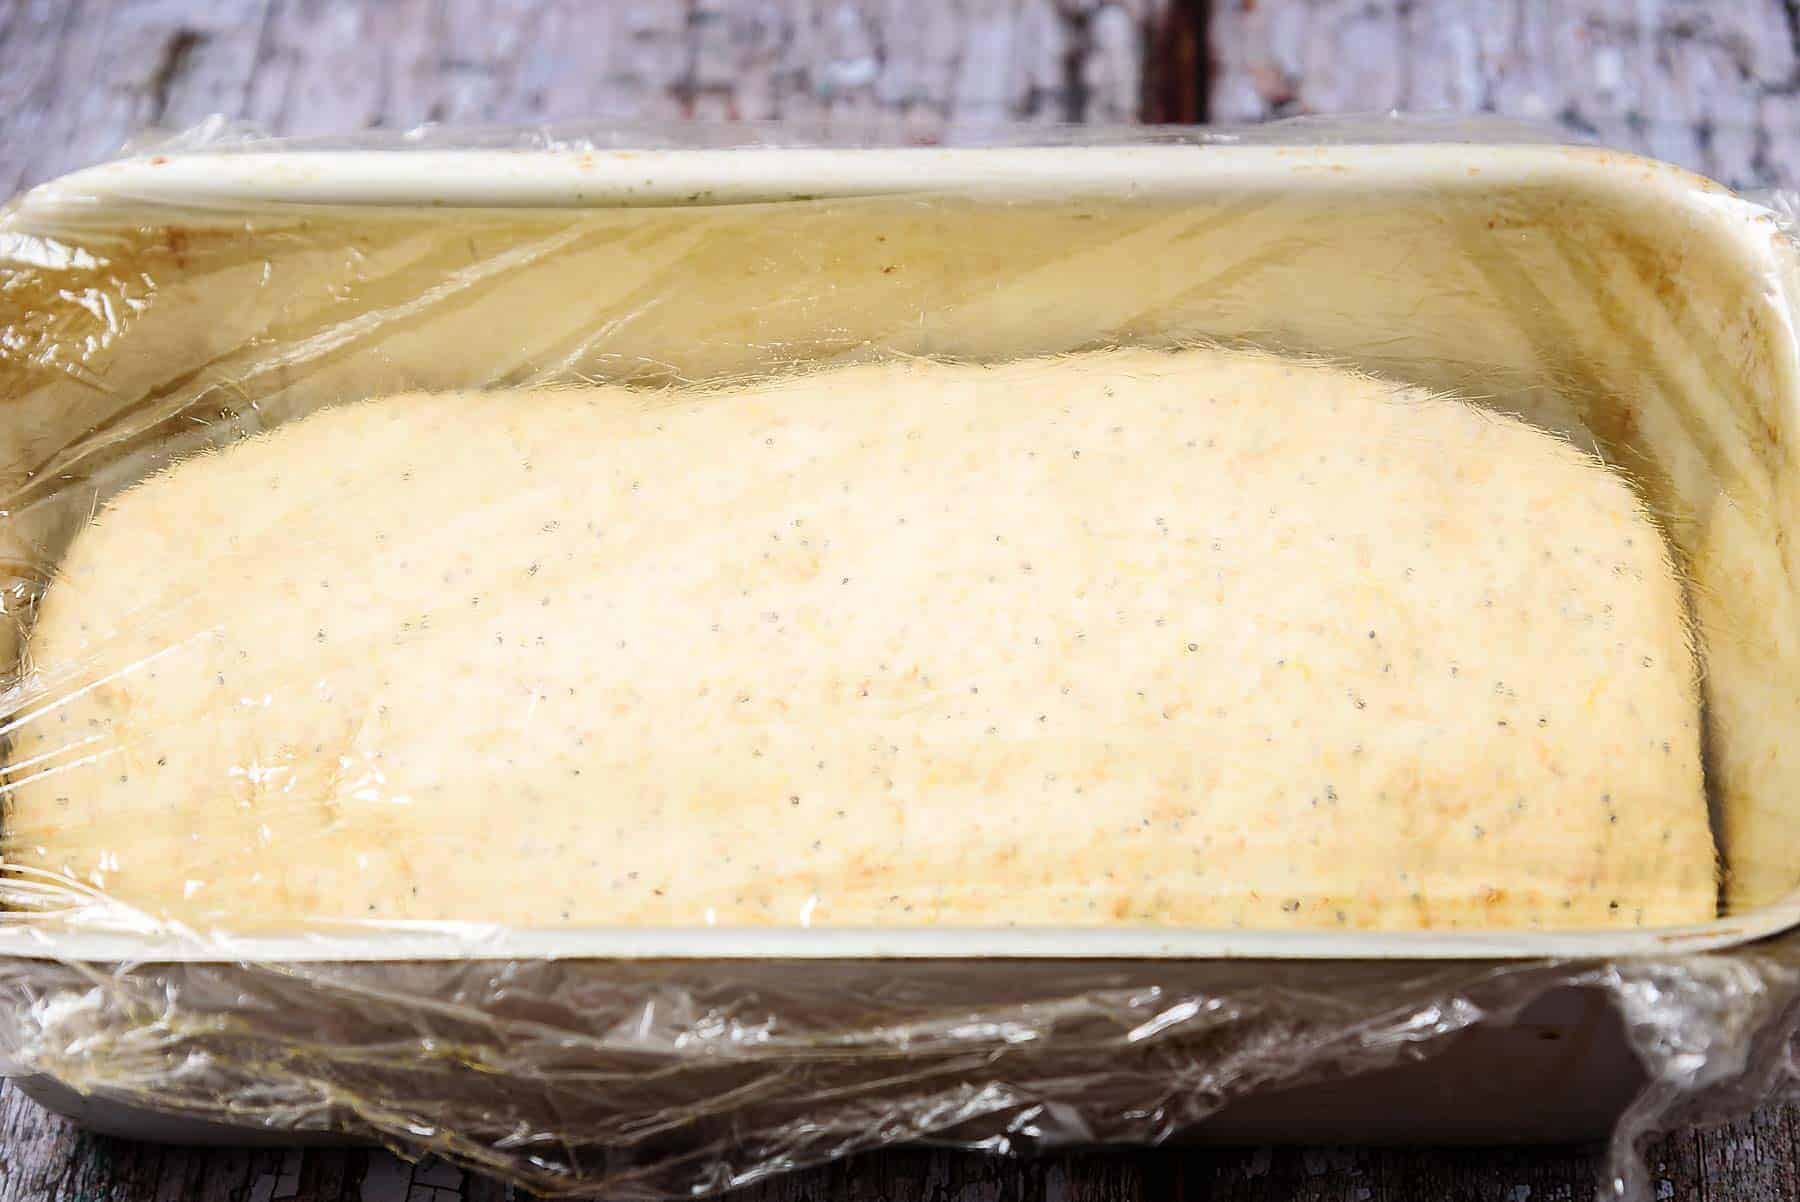
If you have a warm area to prove the dough again, it will be ready to cook in 30 minutes. If the area is cooler, this will take a little longer. Again set a timer, if you have one, for 15 minutes as this is a good time to preheat the oven so it is at the correct temperature when the dough is ready.
As soon as the dough has evenly risen above the rim of the loaf tin, which will be approximately 30 minutes, it will be ready to bake in the preheated oven.
I have made the mistake before of leaving it longer but this yeast has no mercy and the bubbles will deflate and will result in the dough losing its roundedness on the top of the loaf. So do not be tempted to leave it longer to get a higher rise, it doesn’t work like that. However, it’s still my favourite yeast to use. ????
Even if this does happen and you haven’t left it too much longer, you can still bake it and it will still taste great, just not as tall!
Once cooked, place on a wire rack to cool. You can test that it is cooked properly by tapping the bottom of the loaf – it will sound hollow when cooked.

Happy bread making, and don’t forget to comment below to let me know how you get on with this recipe❣
Vegan 3-Seeded Pumpkin Bread
- 20/10/2020
- Makes 14 thick slices
- 2 hr 30 min
- 146 per slice Cals/Serving
- Print this
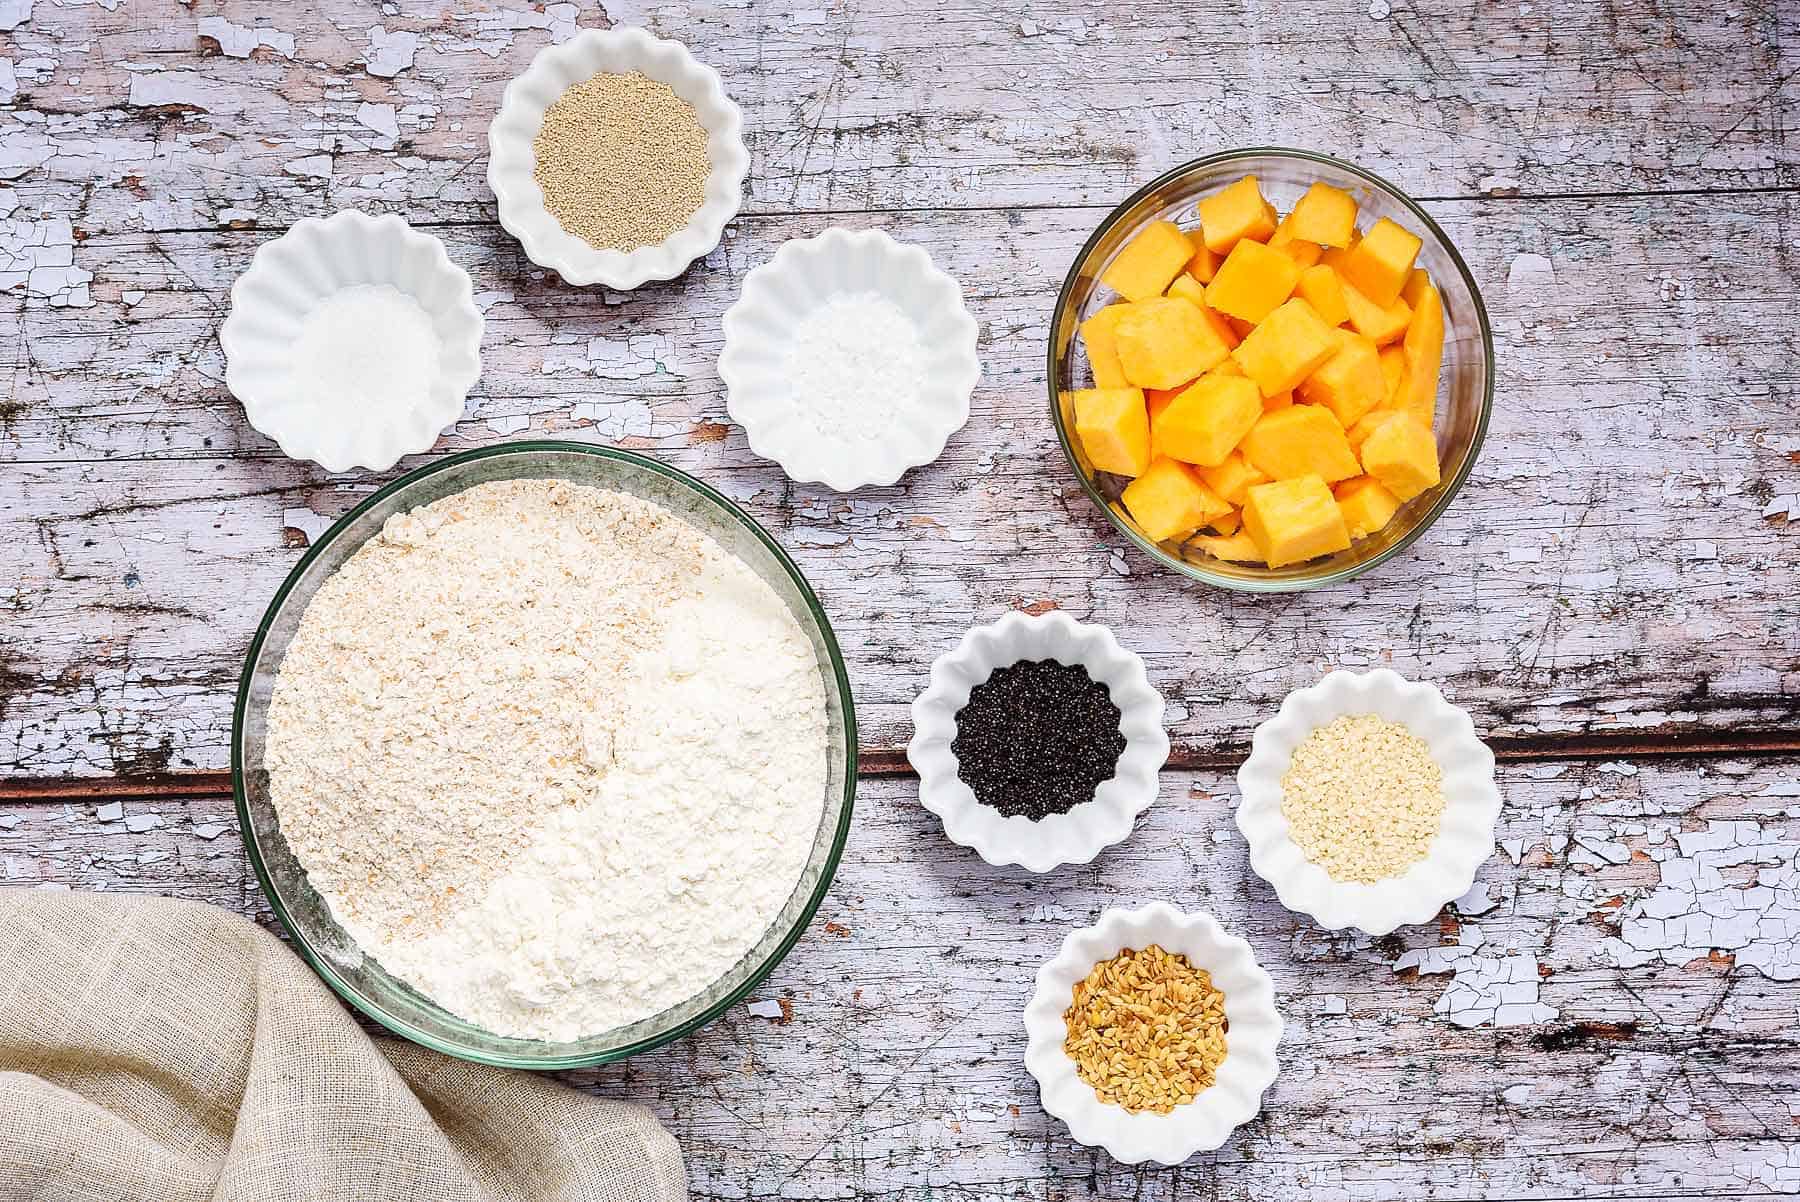
Ingredients
- 150 g / 5¼ oz pumpkin, diced
- 15 ml / 1 tablespoon water
- 350 g / 12¼ oz white bread flour
- 150 g / 5¼ oz wholemeal bread flour
- 15 ml / 1 tablespoon poppy seeds
- 15 ml / 1 tablespoon linseeds
- 15 ml / 1 tablespoon sesame seeds
- 5 ml / 1 teaspoon salt
- 5 ml / 1 teaspoon vegan sugar
- 15 g / ½ oz active dried yeast
- 200 ml / 10 fl oz warm water
Directions
- Step 1
- Place the diced pumpkin in a microwavable bowl and add the 15 ml / 1 tablespoon of water.
- Step 2
- Cover with cling-film and microwave for 4 minutes on high. Then remove the cling-film and microwave for a further 60 seconds. Remove from the microwave and mash with a fork. Set aside to cool.
- Step 3
- Next, place all the dry ingredients into a large mixing bowl, stir and make a well in the middle.
- Step 4
- Dissolve the sugar in a bowl, using 150 ml / 7½ fl oz of the warm water. Sprinkle over the active dried yeast and whisk in with a fork. Place in a warm area to activate the yeast. This takes approximately 5 minutes until the top of the water is covered in tiny bubbles.
- Step 5
- Give the activated yeast a gentle whisk and add, along with the cooled pumpkin mash, and the remaining warm water, to the well in the dry ingredients.
- Step 6
- Gradually combine all the ingredients together using your hand, until all the flour has been mixed in and you have a soft dough.
- Step 7
- Turn the dough out onto a lightly floured surface, and knead for at least 10 minutes. It should be soft and smooth to the touch and you should be able to stretch it slightly without it breaking.
- Step 8
- Place in a clean oiled bowl and cover with oiled cling-film and leave in a warm place to rise, until it has doubled in size. This will take approximately 30-40 minutes.
- Step 9
- When ready, gently turn the risen dough onto a lightly floured surface and press down on the dough to dispel any air bubbles that have formed.
- Step 10
- Now shape into a rectangle and place in a lightly oiled 900 g / 2 lb loaf tin, cover with oiled cling-film and leave to prove for 30 minutes, until risen above the tin. (Please see notes above on proving.)
- Step 11
- After your dough has been proving for 15 minutes, Now preheat the oven to 200℃ fan/220℃/425°F/Gas 7, and bake the dough for 10 minutes.
- Step 12
- Reduce the heat to 180℃ fan/200℃/400°F/Gas 6 and continue to bake for a further 25-30 minutes. To check the bread is cooked, carefully turn the bread over and knock the bottom. It will sound hollow when cooked.
- Step 13
- Place the cooked bread on a wire rack to cool.
